From safely washing a sleeping bag to measuring partially used gas canisters, here’s how to look after your hiking gear
Last spring, I spent the best part of three weeks climbing Denali, the highest peak in North America. There were few opportunities to stay clean on the mountain so by the time I got off the slopes, I – along with all my gear – was in a pretty nasty state.
As tempting as it was to just stuff everything into my duffel bag and toss it in a cupboard, I spent a few hours going through my gear, cleaning, repairing and storing it, ready for the next adventure. Last month, I hit the trail again in Albania and was so grateful to my earlier self for being so diligent. Packing was a breeze.
Between seasons is the perfect time to do a kit check. Whether you’re planning to pack your gear away for the winter months or brave the plummeting temperatures for a chilly expedition, taking the time to check and maintain your gear will extend its lifespan – and potentially yours.
How to look after your hiking gear
Get ahead of the game and prep your gear now for the season ahead. It’ll save you time and money in the long run. Here’s how to look after your hiking gear.
1. Clean and treat your hiking boots
First of all, brush off any dried mud from your boots. Then remove the laces and put them aside to soak in warm, soapy water. Half-fill a bucket with warm water and add a dash of washing-up liquid. Scrub the boots thoroughly with a medium stiff brush (a toothbrush will also do the trick) and then rinse them off under the tap. Let them air-dry, ideally in the sun.
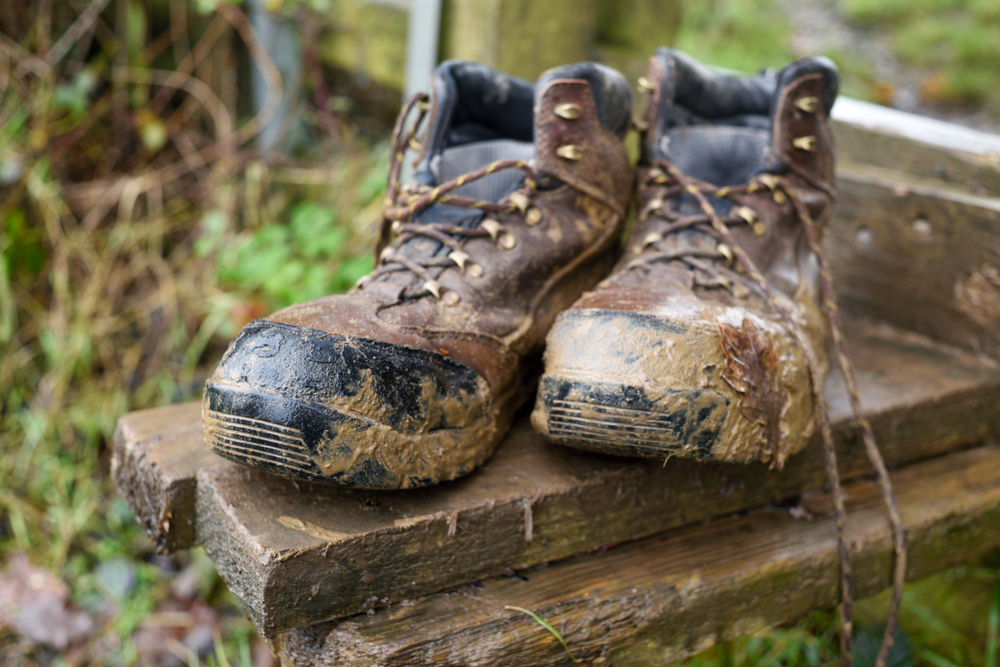 Ian Francis/Shutterstock Hiking can be a mucky business
Once fully dry, treat the boots with a high-performance waterproofer depending on the material (leather, fabric etc). Don’t forget to check the laces for any fraying before you re-thread them.
2. Give your tent a once-over
Pitch your tent somewhere dry – a garage is ideal – and give it a good brush inside and out. Get all the loose dust and dirt off before you wipe it down with a wet sponge from warm water with a tiny bit of washing-up liquid in it, just to help break down any grease or stains. Pay attention not to miss the corners, zippers, tent pole connections and guy lines. Also, brush off the tent pegs and give them a quick wipe. Then rinse the tent down and leave it to dry completely.
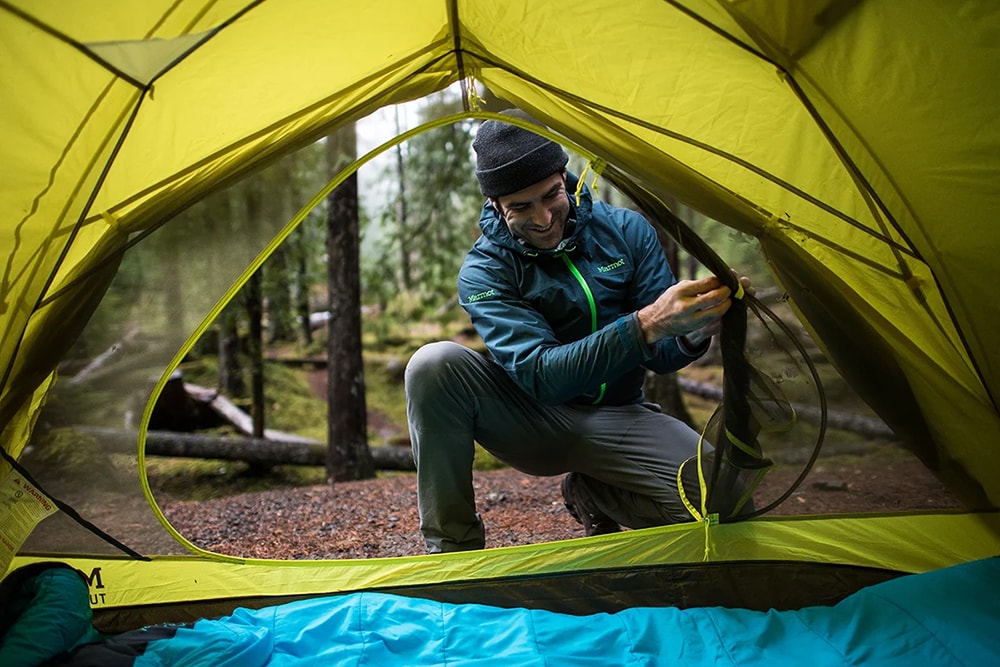 Marmot Check your tent for wear and tear
Give the tent a thorough check for any wear and tear. Fix any tears now using the tent repair kit supplied with it. Also, check the seams and zippers for fatigue and the tent poles for any hairline cracks. If you find any issues, take the time to fix them now by consulting the manufacturer’s guidelines. Likewise, check the tent pegs/stakes and replace any bent or broken ones.
Finally, carefully pack the tent away and double-check the guy lines are untangled and the tent is ready to be pitched – it could well be blowing a hoolie next time you use it.
3. Empty and clean your backpack
Go through all the pockets and pouches, remove any trash and then vacuum out any dirt and dust from the crevices. Don’t try to use a washing machine. Even if it fits, you can easily damage the various appendages even on a gentle cycle.
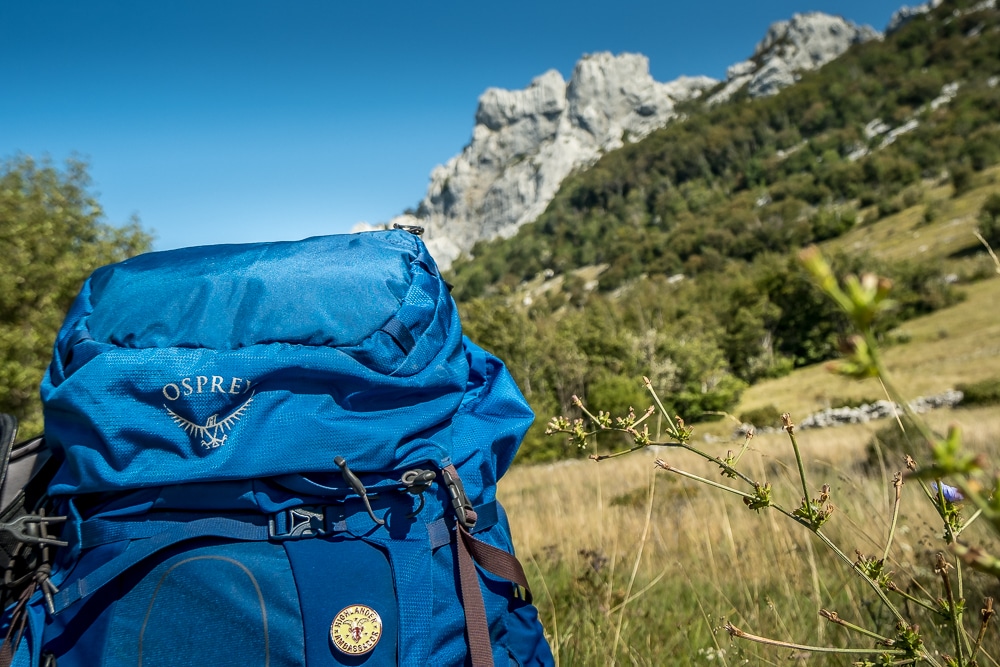 Atlas & Boots Look after your hiking gear by cleaning it regularly
Instead, soak it in a bath or large basin with lukewarm water with a little bit of standard washing detergent or, ideally, use a specialist cleaner such as Nikwax Tech Wash. Sluice the backpack around and use a sponge to scrub any troublesome stains or spots. If you want to go a step further, you can take the pack apart by removing the hip belt, shoulder straps, lid and even the frame and wash those separately.
Drain the dirty water and refill again with lukewarm water. Rinse well and repeat as many times as necessary to completely clean off all the detergent and dirty water. Hang it upside down on an airer to dry.
4. Wash your sleeping bag
First things first, never dry-clean a sleeping bag as the chemicals will damage it. Whether it’s down or synthetically filled, it’s easy, safer and cheaper to wash it at home in a regular washing machine.
Fasten all the zippers and any velcro fasteners before you load it into the machine. Add some specialist detergent such as Nikwax Down Wash and run on a normal setting at either 20°C or 30°C, ideally on a gentle or delicate cycle. Do not use fabric softener. You could also run the bag through the machine again on a rinse-and-spin cycle without any detergent to remove any remaining suds.
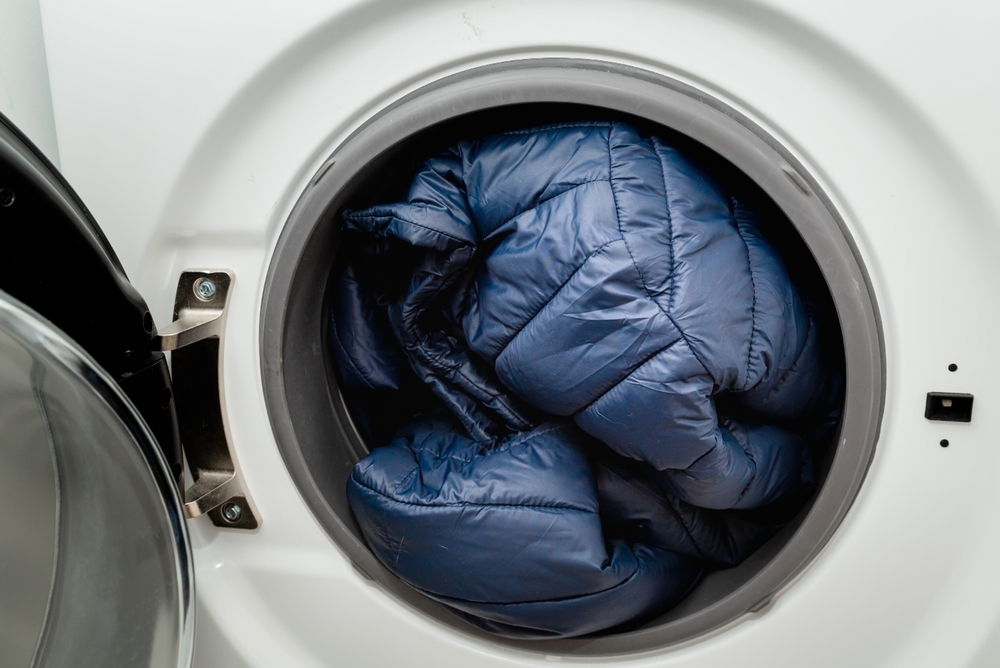 Damian Lugowski/Shutterstock You can machine wash sleeping bags
You can machine dry the bag, but make sure you use a low heat setting. A high heat setting can damage your sleeping bag. You can also add a couple of clean tennis balls into the dryer to break up the down clumps. Do not run it for long drying cycles. Instead, run it for several short cycles (15-30 minutes), taking it out regularly to check on it.
Finally, drape it over an airer for a couple of days to dry completely before storing it uncompressed in a net sack.
5. Service your sleeping pad
While you’re at it, you may as well give your sleeping pad a quick once-over too. Gently clean any built-up grime with a sponge and mild detergent. Make sure you get all the dirt and grime out of the dimples and baffles. Use a dry toothbrush to gently clean any dirt out of the valves.
If you think you may have a leak, watch the video above from Thermarest to find the puncture and repair using the supplied repair kit. Ensure the pad is completely dry before storing.
6. Re-waterproof your shell
You can wash any breathable waterproof layers such as waterproof jackets and trousers in a washing machine on a gentle, warm or cold cycle using a technical wash product. Do not use a standard detergent.
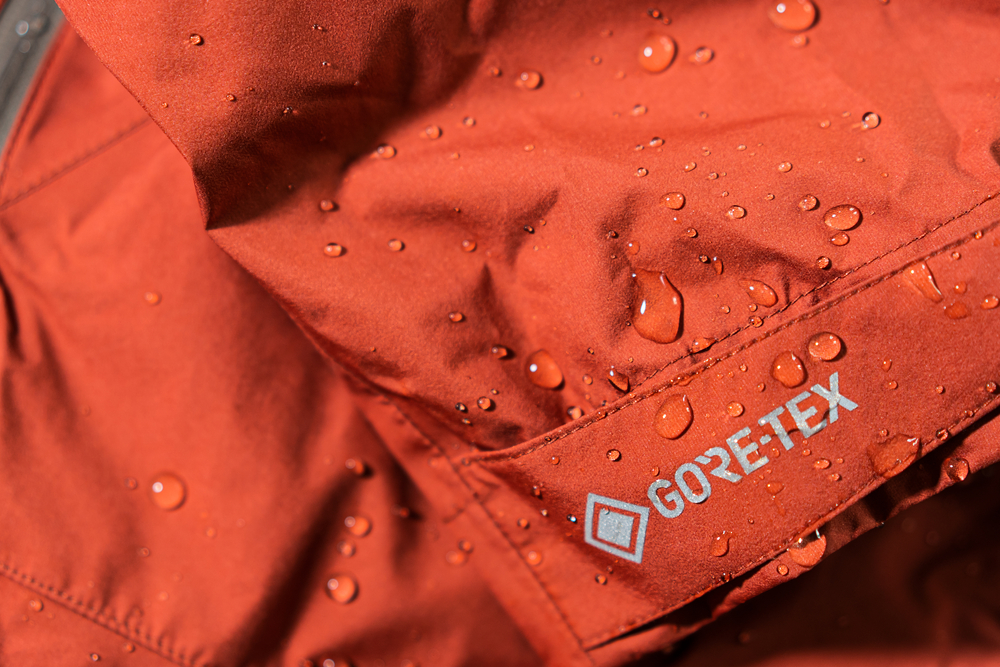 Ondra Vacek/Shutterstock Breathable fabrics need re-waterproofing
Afterwards, you’ll want to run the garments on another cycle but this time, with a wash-in waterproofer. We recommend the Nikwax Hardshell DUO-Pack. You could also use a durable water repellent (DWR) spray to revive the waterproofing instead. Dry on an airer.
7. Give your down jacket a technical wash
First, check your down jacket for a care label to see if it requires dry cleaning to preserve its outer fabric. Then check for holes. If your jacket has any small tears or holes, a machine wash could make them worse or leak down. Watch the video from Rab below on how to repair a down jacket.
Before you put your down jacket in the washing machine, empty the pockets, close any pouches and turn your jacket inside out to prevent it from snagging. Leave pockets and zippers open so they get cleaned as well. If anything such as the hood is detachable, then remove it and wash it separately.
Run the jacket on a gentle setting at either 20°C or 30°C using a speciality cleaner and then on an extra rinse cycle. Do not use fabric softener. Like a sleeping bag, you can use a machine to dry down, but make sure you use a low heat setting.
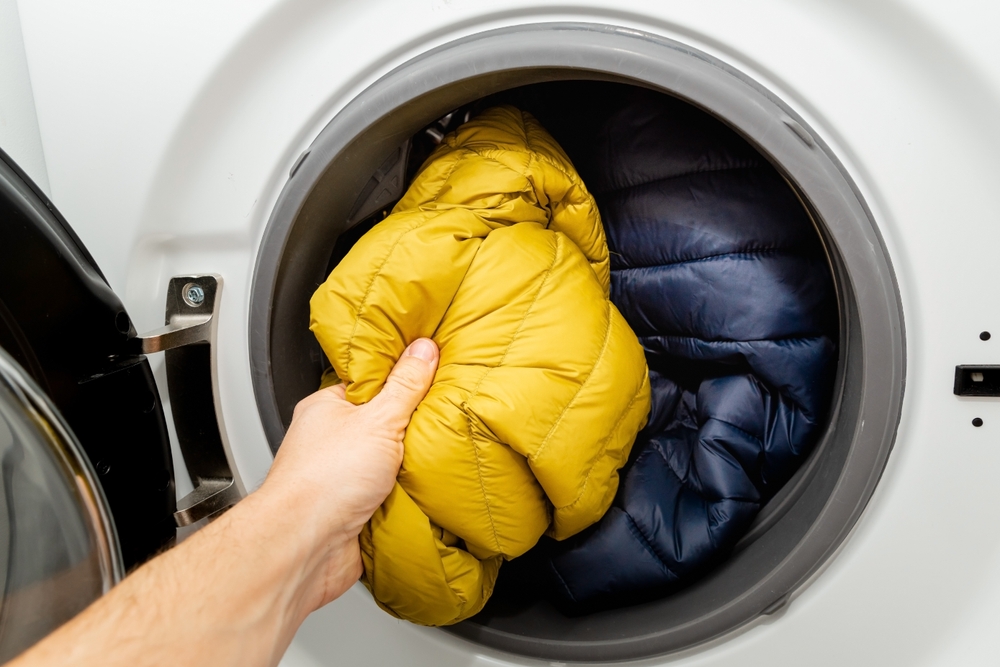 Damian Lugowski/Shutterstock You can machine wash your down jacket
Again, you can add a couple of clean tennis balls to break up the down clumps. Do not run it for long drying cycles. Instead, run it for several short cycles (15-30 minutes), taking it out regularly to check on it. Drape it over an airer for a couple of days to dry completely before storing un-compressed.
8. Measure your fuel canisters
No one wants to waste gas. At the same time, you don’t want to set off on another trek only to discover halfway through that there isn’t as much gas inside as you thought. There are three ways to measure how much fuel remains in a gas canister:
- Use a specialist scale
- Use a kitchen scale
- Do a float test
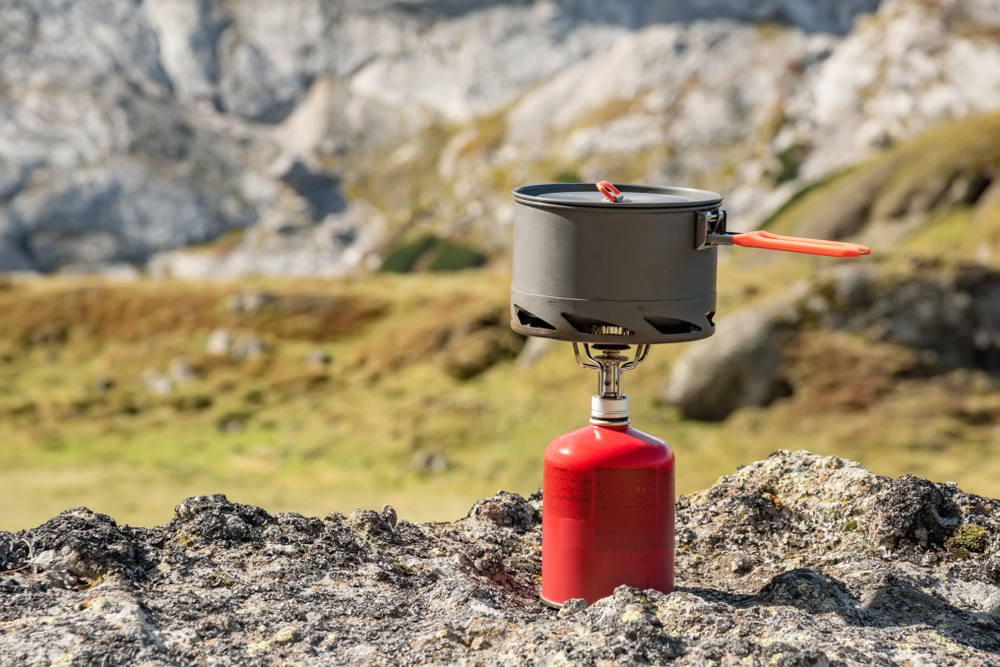 Kochneva Tetyana/Shutterstock Measure used canisters before their next use
1. Some stove and fuel suppliers sell portable digital scales designed to show the exact amount of gas remaining in a canister. These scales are relatively affordable and user-friendly.
2. You can also use a kitchen scale and some basic maths by calculating the weight of an empty canister. Simply subtract the net weight listed on the canister from the gross weight to find the weight of an empty one. Then weigh your partially filled canister. Subtract the weight of the empty canister from your partial one to get the weight of the remaining fuel.
3. If you don’t have a digital scale then you can use the ‘float test’. This is less accurate but it will give you a rough idea. Put your partially filled canister in a bowl or basin of water, making sure there’s no trapped air underneath. A more depleted canister will float higher, with more volume above the surface of the water. A fuller canister will sink lower in the water. Some canisters – such as the MSR one above – even have float graphics printed on the canister.
9. Restock your first aid kit
It’s worth restocking your first aid kit now with bandages, medications and any other items you used over the previous season. Use our comprehensive hiking first aid kit to ensure you’re not caught unprepared next season.
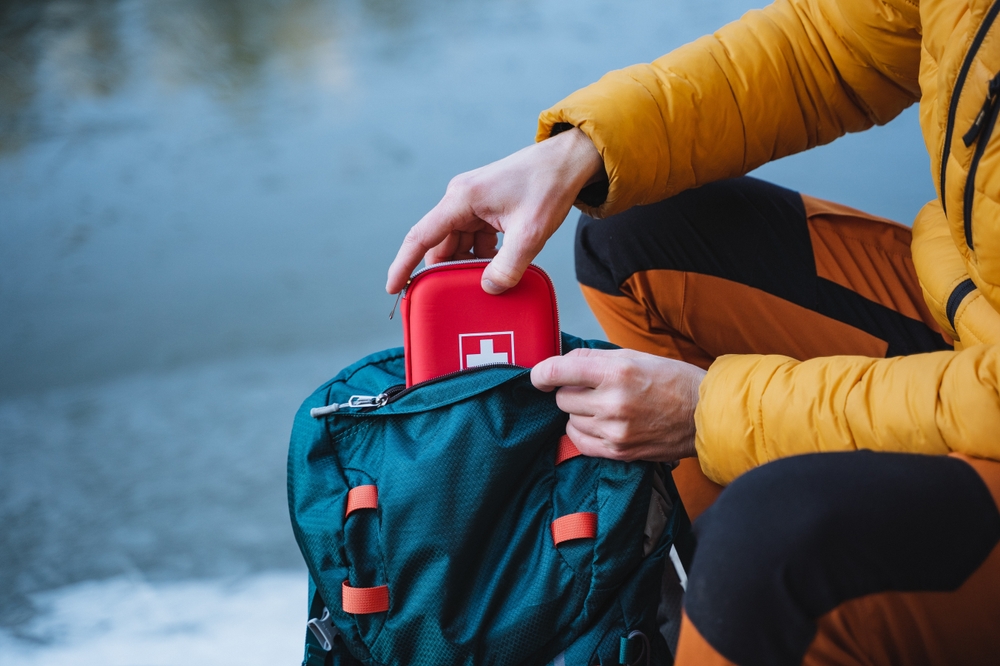 Aleksey Matrenin/Shutterstock Regularly restock your first aid kit
10. Sharpen your knives and multitools
Give your multitool and camping knives a clean in soapy water using a sponge. Open every attachment, clean it well and then thoroughly dry it with a towel. If any hinges on your multitools feel stiff or are stuck, then oil the joints, ideally with food-grade mineral oil which doesn’t attract dust and means you can safely use your knife for food preparation.
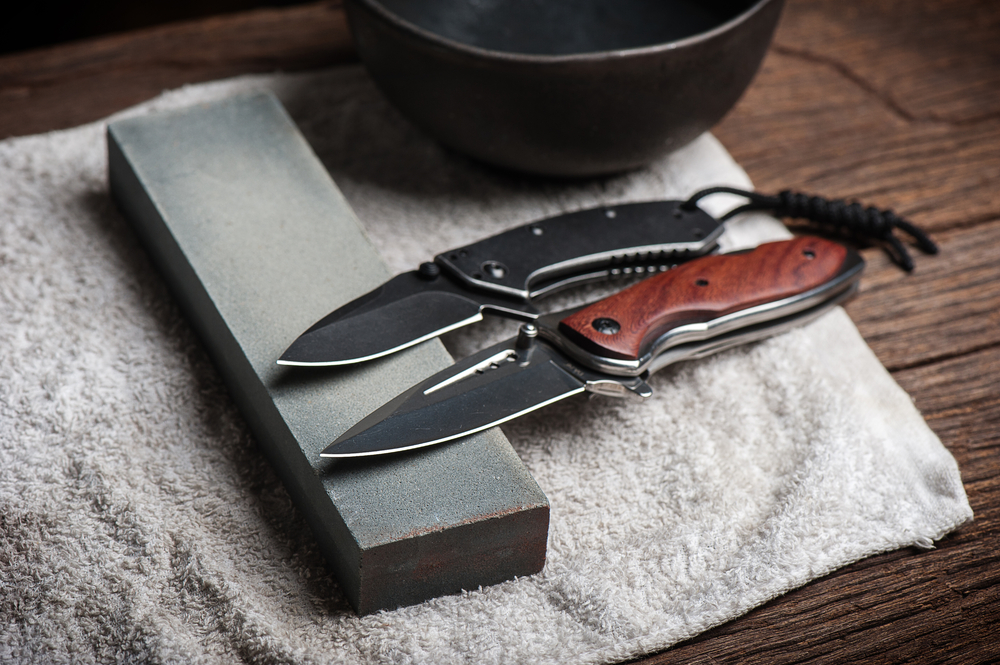 Nor Gal/Shutterstock Use a whetstone to sharpen blades
To sharpen your blades, use a sharpening stone (whetstone). Check the knife manufacturer’s instructions as there are several on the market including water, oil and diamond stones. Whetstones come in a variety of grit levels, from coarse to fine. Coarse stones are ideal for sharpening very dull blades while finer stones are used to achieve razor-sharp edges.
11. Check the batteries in your headtorch
Take two minutes to check the batteries in your headtorch. A smart move is to store a set of fresh, unused batteries with your headtorch so they’re ready when you’re packing for your next trip.
 Westend61/Shutterstock Check your torch batteries before your next trip
12. Clean and dry your hydration pack
If left uncleaned, a hydration pack can be a breeding ground for bacteria leading to mould and mildew. Both can make you unwell but also degrade the plastic over time. The best way to avoid this is to clean and dry your hydration pack regularly.
Specialist cleaning tablets are ideal but you can also use baking soda, lemon juice or two or three drops of household bleach. Fill the bladder with warm water and the cleaning solution and shake it well. You can draw the solution into the hose by pinching the mouthpiece. Let it sit for around 20 minutes (tablets need less).
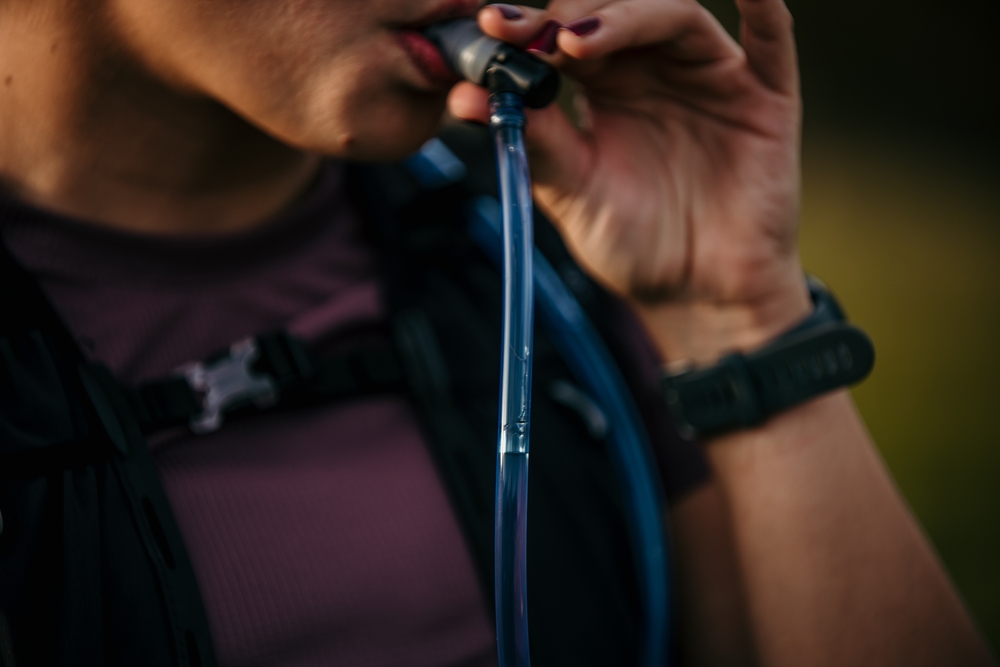 La Famiglia/Shutterstock Hydration packs can be breeding grounds for bacteria
Next, use a bottle brush – or better still, a dedicated hydration pack cleaning kit – to get to all the awkward spots in the hose and bite valve. These areas are hotspots for collecting moisture and can get rather grimy if you don’t stay on top of it.
Dry your hydration pack thoroughly with a towel and hang it upside down to air for a few days in a light, dry, airy spot. It can take a long time for all the hard-to-reach bits to dry so try to prop it open.
Gear and clothing treatment
When it comes to looking after your hiking gear, we recommend using Nikwax which has a range of easy-to-use, effective and long-lasting treatments for weatherproof fabrics.
Enjoyed this post? pin it for later…



 English (US) ·