 17 hours ago
2
17 hours ago
2
Choosing the right hiking boots is arguably the most important decision any walker will make. Get it right, and you’ll enjoy countless miles of comfortable, blister-free adventures. Get it wrong, and even a short stroll can become a painful ordeal.
With so many options on the market, from lightweight walking shoes to sturdy mountain boots, it’s easy to feel overwhelmed. But don’t worry – this complete guide will break down everything you need to know, empowering you to choose the perfect pair for your hiking style and the varied British landscape.
We’re not here to tell you which brand to buy, but rather how to buy, so you can make a smart, comfortable, and safe investment that will serve you well on the fells, through the glens, and along our beautiful coastal paths.
Let’s lace up and dive in!
What Kind of Hiking Footwear Do You Actually Need?
Before you even think about brands or features, the first step is to consider the type of walking you’ll be doing. We can broadly categorise hiking footwear into three main types:
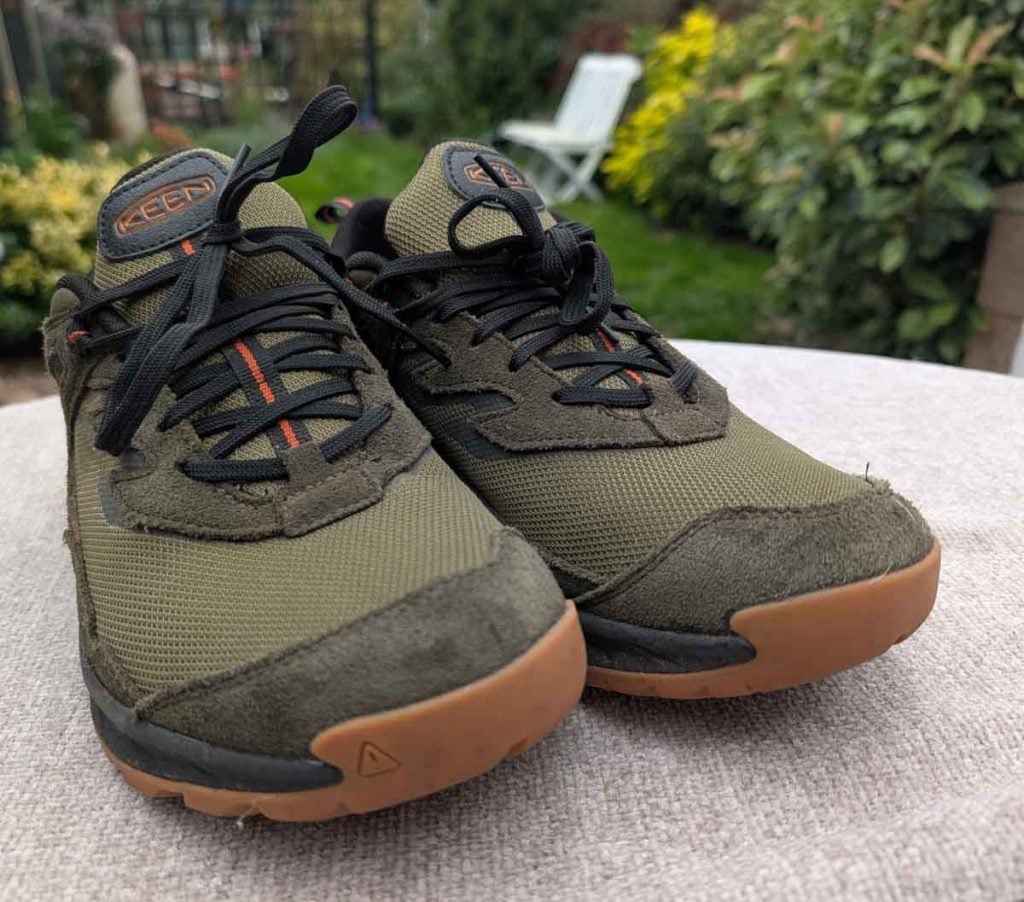
1. Walking Shoes (Low-Cut Hiking Shoes)
Best For: Short day hikes, groomed trails, low-level walks, warm weather, fast-and-light packing, urban exploring.
Key Characteristics:
- Low-cut: Sits below the ankle.
- Flexible: More like a sturdy trainer than a traditional boot.
- Lightweight: Offers less support and protection than boots.
- Often breathable: Many models feature mesh panels.
- Good grip: Still feature aggressive outsoles for traction.
Walking shoes are excellent for well-maintained paths, flatter terrain, or when you simply need more grip and durability than a standard trainer provides.
They’re a popular choice for many casual walkers and even experienced hikers who prefer a lighter feel.
However, they offer minimal ankle support and aren’t ideal for carrying heavy packs or tackling very rough, wet, or rocky terrain often found in the UK’s national parks.
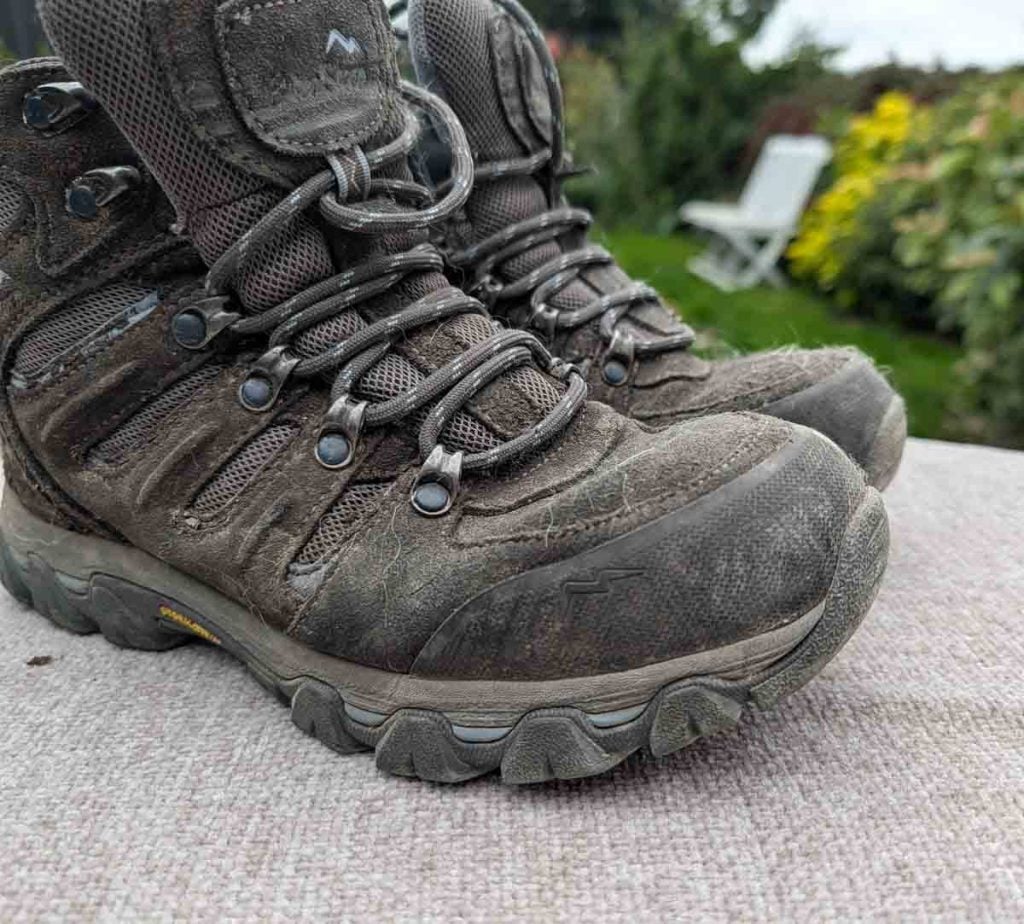
2. Day Hiking Boots (Mid-Cut)
Best For: Most day hikes, multi-day walks with light packs, varied terrain including hills and mountains, year-round UK conditions.
Key Characteristics:
- Mid-cut: Extends over the ankle for enhanced support.
- More substantial: Offer better cushioning and protection than walking shoes.
- Often waterproof: Many come with waterproof membranes (e.g., Gore-Tex).
- Good balance: A popular all-rounder for typical British walking.
This is the sweet spot for many UK walkers. Day hiking boots provide a crucial balance of ankle support, underfoot protection, and comfort without being overly heavy or stiff.
They handle muddy trails, rocky paths, and moderate inclines with ease, making them suitable for popular destinations like the Peak District, Yorkshire Dales, and much of the Lake District.
If you’re doing anything beyond a gentle stroll on a flat path, this is usually your minimum requirement.
3. Backpacking Boots (High-Cut / Mountain Boots)
Best For: Multi-day treks with heavy backpacks, challenging terrain, off-trail navigation, scrambling, winter conditions (some models).
Key Characteristics:
- High-cut: Provides maximum ankle support and protection.
- Stiff and rigid: Designed to support heavy loads and prevent foot fatigue on uneven ground.
- Durable materials: Often made from robust full-grain leather or tough synthetics.
- Highly protective: Offer excellent resistance against rocks, mud, and water.
- Can be heavier: The trade-off for superior support and durability.
If you’re embarking on expeditions like the West Highland Way with a full pack, tackling serious mountain routes, or navigating particularly boggy and unforgiving terrain, backpacking boots are your best friend.
Their rigidity and robust construction are essential for stability when carrying weight and negotiating challenging underfoot conditions. Some models are even compatible with crampons for winter mountaineering.
Understanding the Anatomy of a Hiking Boot
Now that you know whichtype of footwear you need, let’s look at the key components that make up a hiking boot. Understanding these will help you appreciate the differences in quality, performance, and price.
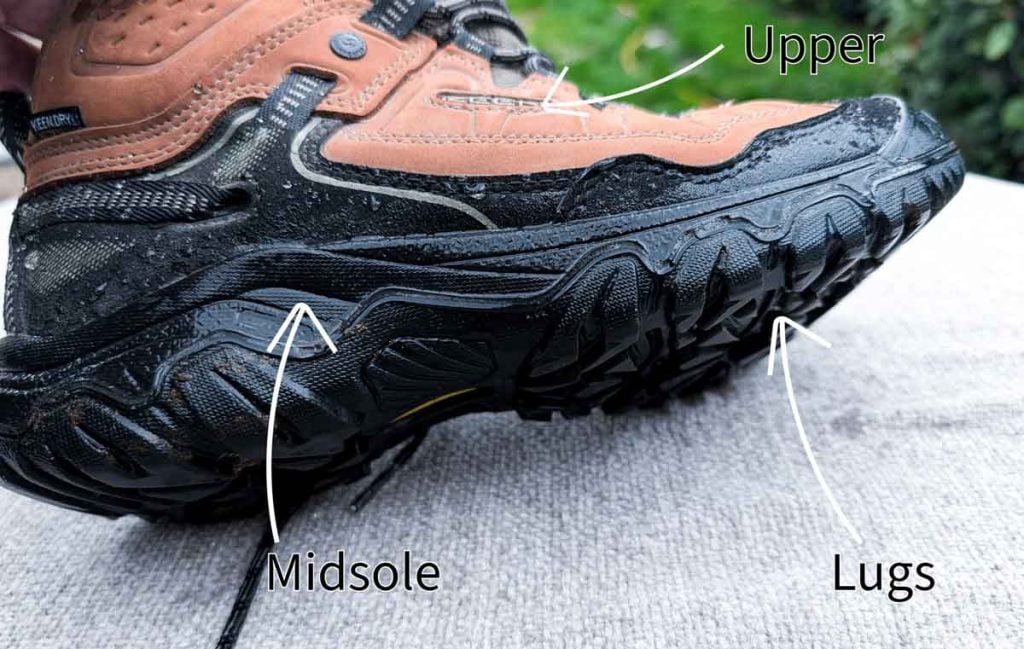
1. Uppers (The Body of the Boot)
The upper is everything above the sole. Its material choice significantly impacts durability, weight, breathability, and water resistance.
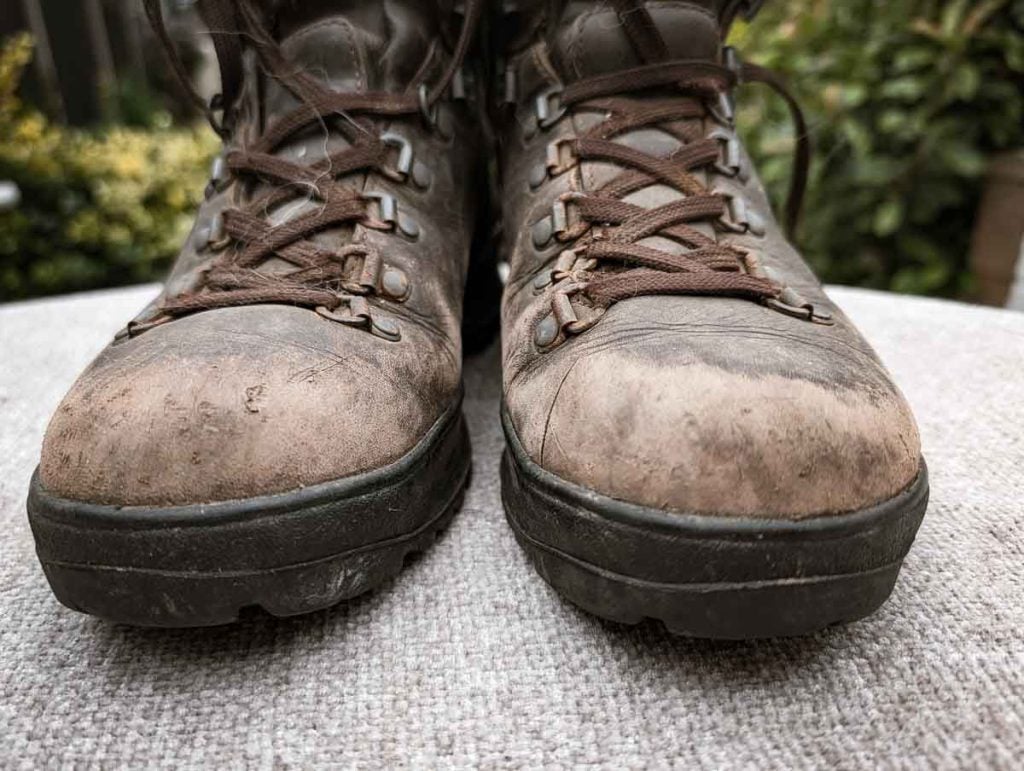
Full-Grain Leather:
- Pros: Extremely durable, highly water-resistant (when properly treated), moulds to your foot over time, excellent support.
- Cons: Heavier, less breathable, requires more breaking in, needs regular conditioning.
- Ideal For: Heavy-duty backpacking, challenging terrain, traditionalists who value longevity.
Split-Grain Leather/Suede:
Often combined with nylon mesh.
- Pros: Lighter, more breathable, less break-in time, often cheaper.
- Cons: Less durable than full-grain, less water-resistant (unless a membrane is added).
- Ideal For: Day hiking boots, lighter loads, warmer conditions.
Synthetics (Nylon, Polyester):
Often used in combination with each other or with split-grain leather.
- Pros: Very lightweight, quick-drying, highly breathable, less break-in time, vegan-friendly options.
- Cons: Less durable, can fray over time, less natural mould to the foot.
- Ideal For: Walking shoes, lighter day hiking boots, speed hiking.
2. Midsoles (The Cushioning Layer)
The midsole sits between the outsole and the insole. It’s crucial for cushioning your foot, absorbing shock, and providing stability.
EVA (Ethylene Vinyl Acetate):
- Pros: Lightweight, good initial cushioning, flexible.
- Cons: Tends to compress and lose cushioning over time, offering less support on very rocky terrain.
- Ideal For: Lighter walking shoes and day hiking boots where weight and comfort are priorities.
Polyurethane (PU):
- Pros: Very durable, firmer, excellent long-term support and stability, good for carrying heavy loads.
- Cons: Heavier, less flexible, often found in more expensive boots.
- Ideal For: Backpacking boots and any boot designed for heavy loads or challenging, rocky trails.
Some boots use a combination of both for the best of both worlds – a supportive PU frame with an EVA top layer for comfort.
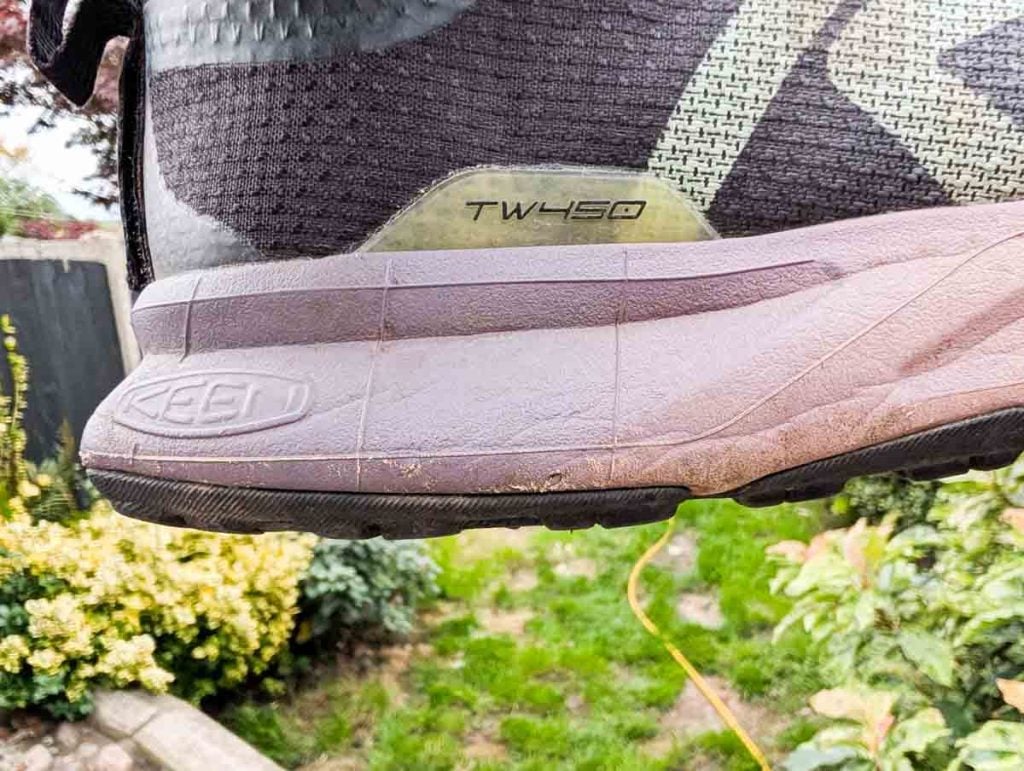
3. Outsoles (The Grip)
The outsole is the rubber part of the boot that contacts the ground. Its design, rubber compound, and lug pattern determine how well your boots grip on different surfaces.
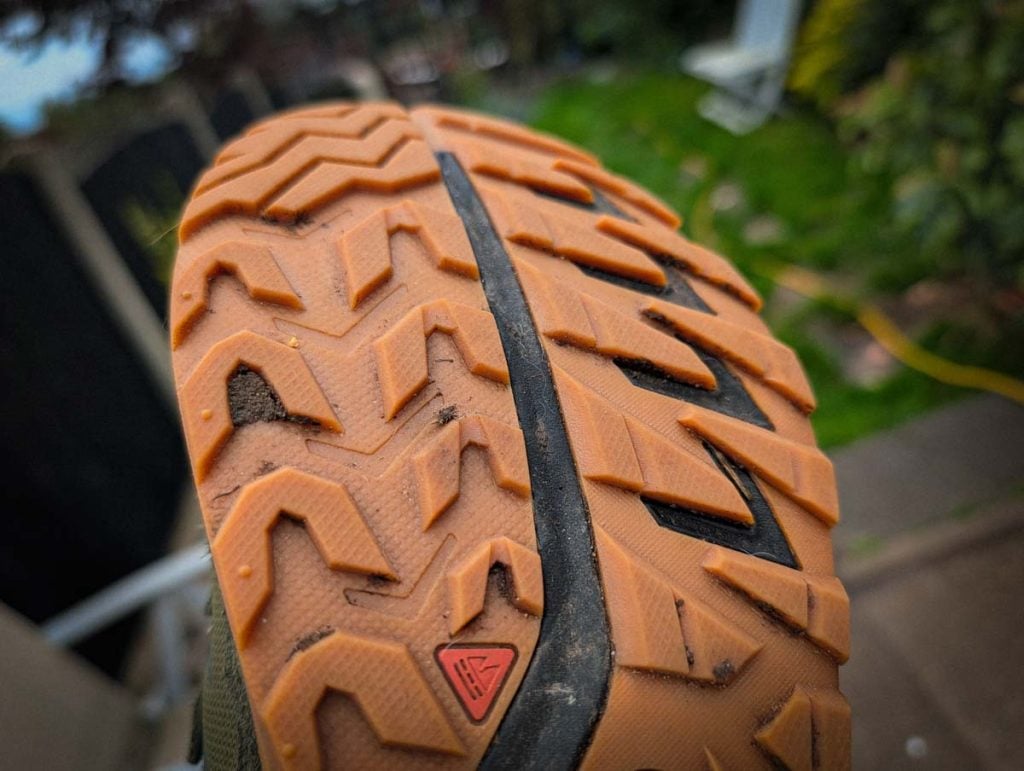
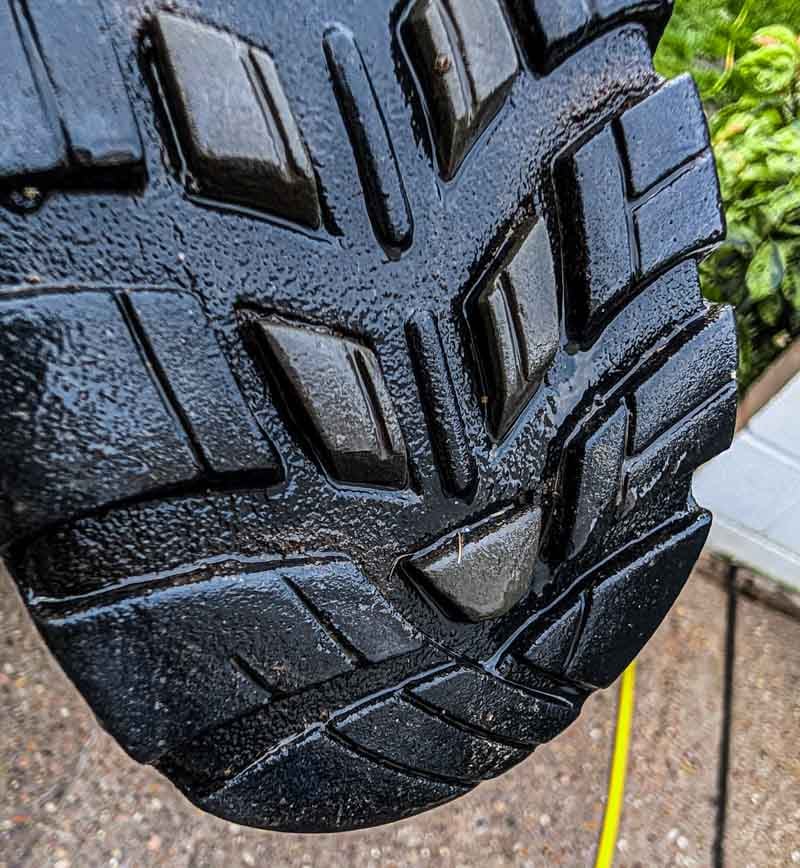
Lug Pattern: Deeper, multi-directional lugs (the rubber bumps) provide excellent traction on loose dirt, mud, and uneven terrain – essential for the varied conditions of the UK. Shallower, more uniform lugs are fine for groomed paths.
Heel Brake: A clearly defined heel area, separate from the main lug pattern, helps prevent slipping on steep descents.
Rubber Compound: Most quality hiking boots use proprietary rubber compounds like Vibram (a very common and respected brand) or similar durable, sticky rubbers. Look for a balance of grip and durability; softer rubbers grip better but wear faster.
4. Waterproofing (Gore-Tex and Beyond)
Given the UK’s famously unpredictable weather, waterproofing is a top priority for many walkers.
Waterproof/Breathable Membranes:
The most common solution is an integrated membrane, such as Gore-Tex (GTX), eVent, or your boot brand’s proprietary equivalent (e.g., Keen.Dry, Omni-Tech, Futurelight).
These membranes have microscopic pores that are too small for water droplets to enter but large enough for water vapour (sweat) to escape, keeping your feet dry from both external water and internal perspiration.
- Pros: Excellent for keeping feet dry in wet conditions.
- Cons: Can reduce overall breathability compared to non-waterproof boots, can make feet feel warmer.
Water-Resistant Treatments:
Leather boots, when regularly treated with waxes or conditioners, can be highly water-resistant and often very durable.
When do you really need it? If you’re walking in boggy areas, crossing streams, expecting heavy rain, or hiking in winter, waterproofing is a must.
If you mainly stick to dry, well-maintained paths in summer, a more breathable non-waterproof boot might be more comfortable.
The Golden Rule – Getting the Right Fit
This is, without a doubt, the single most critical factor in choosing hiking boots. Even the most expensive, technically advanced boot is useless if it doesn’t fit your foot properly.
1. Shop in the Afternoon/Evening
Your feet swell throughout the day, especially after activity. Try boots on when your feet are at their largest to ensure a comfortable fit when you’re on the trail.
2. Wear Your Hiking Socks
Always try on boots with the specific type of socks you intend to wear while hiking. Different sock thicknesses will alter the fit.
3. Measure Both Feet
It’s common for one foot to be slightly larger than the other. Always fit the boot to your larger foot.
4. The “Rule of Thumb” for Toe Room
With the boots unlaced, push your foot as far forward as it will go until your toes just touch the front. You should be able to comfortably slip a finger (or a thumb) down behind your heel.
This ensures enough room for your toes when descending hills, preventing them from jamming into the front of the boot.
5. Lace Them Up Properly
Lace the boots snugly, but not so tight that they cut off circulation or create painful pressure points. Pay attention to how the laces feel across the top of your foot and around your ankle. Use all eyelets and hooks for maximum support.
6. Walk Around (and Uphill/Downhill)
Always buy your hiking boots from a shop that has a ramp or stairs you can walk up and down. This is crucial for checking for:
- Heel Lift: Your heel should feel secure with minimal lift (a small amount is okay, excessive movement is not). Too much heel lift will cause blisters.
- Toe Jamming: As you walk downhill, your toes should not hit the front of the boot. If they do, the boots are too small.
- Pressure Points: Pay attention to any pinching, rubbing, or uncomfortable pressure spots, especially around the ankle, instep, or across the toes. These will only worsen on the trail.
7. Trust Your Instincts
If a boot doesn’t feel right in the shop, it won’t feel right on a five-mile hike across the Yorkshire Moors. Don’t let a salesperson pressure you into a boot that isn’t comfortable.
Breaking In Your New Boots
Even if your boots feel perfect in the shop, they still need to be “broken in.” This allows the materials to soften and mould to the unique contours of your feet, preventing blisters and discomfort on longer hikes.
Wear them indoors: Start by wearing your new boots around the house for a few hours at a time.
Short walks: Take them on short, easy walks around your local park or neighbourhood.
Gradual increase: Slowly increase the distance and difficulty of your walks before embarking on a full-day hike.
Listen to your feet: If you feel any hot spots or rubbing, address them immediately. You might need to adjust your lacing or use blister plasters.
Full-grain leather boots generally require the most break-in time, while modern synthetic walking shoes might feel comfortable almost immediately.
Conclusion: Happy Feet, Happy Hiker!
Choosing the right hiking boots might seem like a daunting task, but by understanding your needs, the key features, and most importantly, focusing on fit, you’re well on your way to making a fantastic investment.
Remember, the goal is comfortable, protected feet so you can fully immerse yourself in the beauty of the UK’s trails, from the rugged Scottish Highlands to the rolling hills of the South Downs.
Now that you’re armed with the knowledge of how to choose the perfect pair, you’re ready to explore.


 English (US) ·