This article may contain paid links where we make a small commission for purchases you make from links that you click from this article. By purchasing through our links, you support us at no additional cost. Thank you for your support ❤️. For more details, read the disclosure page.
Hey friends! Disney World is truly one of the most magical places in the world but what they don’t tell you are that just going in blind is most likely going to lead to a lot of frustration. If you’re investing your time and money on a once-in-a-lifetime trip, you’re going to want to make sure you do it right.
In our guide below, we’re going to be unlocking the most important Disney World secrets which is going to make your experience that much better. Trust us, do the research now so that when you’re there, you’ll know exactly how to maximize your time and and not trip over common mistakes.
Here’s What You’ll Get Out Of This Article
- Disney World requires more planning than you think and we help you make sure you don’t miss the small details that are easy to miss.
- Instead of explaining absolutely everything, we narrow it down to essential tips that we learned from first-hand experience.
- We disclose secrets to Disney World that’ll make your life a lot easier.
TOP TIPS FOR DISNEY WORLD
- Where to stay – As you’ll learn in the article, the best value comes from the Disney Partner Hotels such as the DoubleTree Disney Springs. If you’re eligible, always make sure to see if you can save more money with hotel corporate codes.
- Car rentals – If you’re staying within Disney, we actually don’t recommend renting a car. Just take Lyft instead (always a tad cheaper than Uber). If you do need a car, make sure to make use of our car rental coupon codes and compare against Discover Cars and RentalCars.
- Flights – Use the Skyscanner “Everywhere” feature to find the best deals from your local airport. Check how much it would be for you to get to Orlando!
- Insurance – We always recommend that you’re covered with the best travel insurance when you’re on the road because you never know when sh*t happens! Our go to is HeyMondo so make sure to check them out.
- Hottest deals – Awesome deals pop up all the time. Never miss a killer promotion by bookmarking our travel deals page.
Tips To Ensure You’re Prepared For Your Epic Disney World Trip
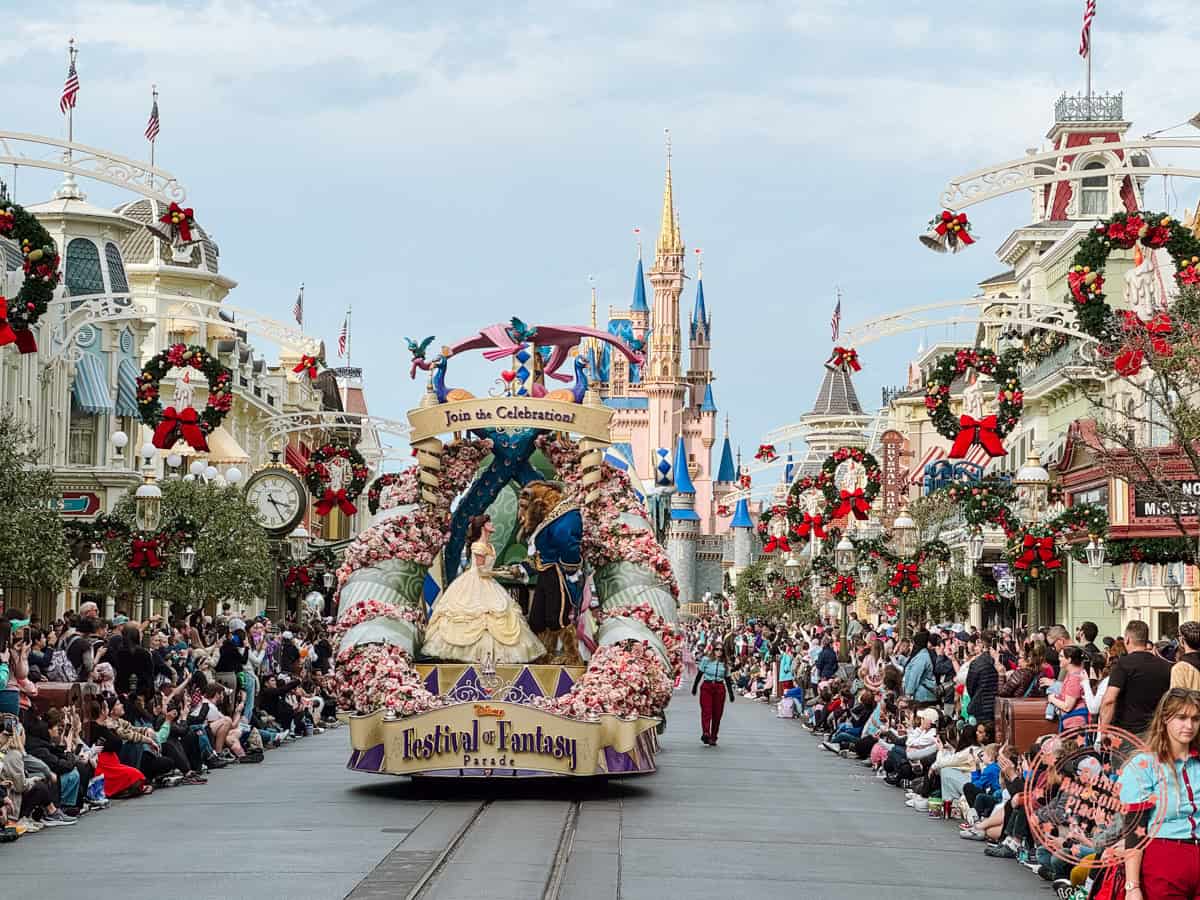
Having been to Disneyland and Disney World, we know all too well that there’s a lot of preparation work required. While it would be nice to just show up for your vacation, the truth is that it’s a bit more complicated than that.
To help you with your adult adventure to Disney World, we’ve compiled the best need-to-know advice that we picked up (some of it the hard way) that will ensure you have the most magical trip ever.
Tip #1 – Stay At An Official Disney Partner Hotel
While we’d all love to have the budget to stay at one of the premium Disney Resorts Collection Hotels such as Polynesian Village, Grand Floridian, Old Key West, Wilderness Lodge, and others, they are ultimately an expensive option.
There is of course the cheaper alternative of staying at a hotel outside of the Disney grounds but there’s an option that is the best of both worlds.
This is where Disney Partner Hotels come into play. These are hotels that don’t carry the Disney brand but have been allowed to be built within their grounds. The important thing you need to know is that by being within Disney, they get certain privileges.
- Have shuttles to the park.
- Early access perks that allow you to get into the Disney parks 30 minutes before official opening.
- Lighting Lane selections 7 days in advance instead of 3 days.
These hotels aren’t easy to find so we’ve put together an exhaustive list of all Disney Partner hotels. They are mostly located by Disney Springs, Lake Buena Vista, and Lake Bonnet.
Map of Disney Partner Hotels
In addition to the above Disney World perks, if you follow our travel hacking tips, you’ll know that we’re big fans of collecting points. By staying at many of the properties above, you’ll also be able to take advantage of status that you may have and the bonuses that come alongside with them.
PRO TIP: Take a step further, you can also apply on-going offers, promos, and hotel corporate codes.
Our DoubleTree Disney Springs Stay
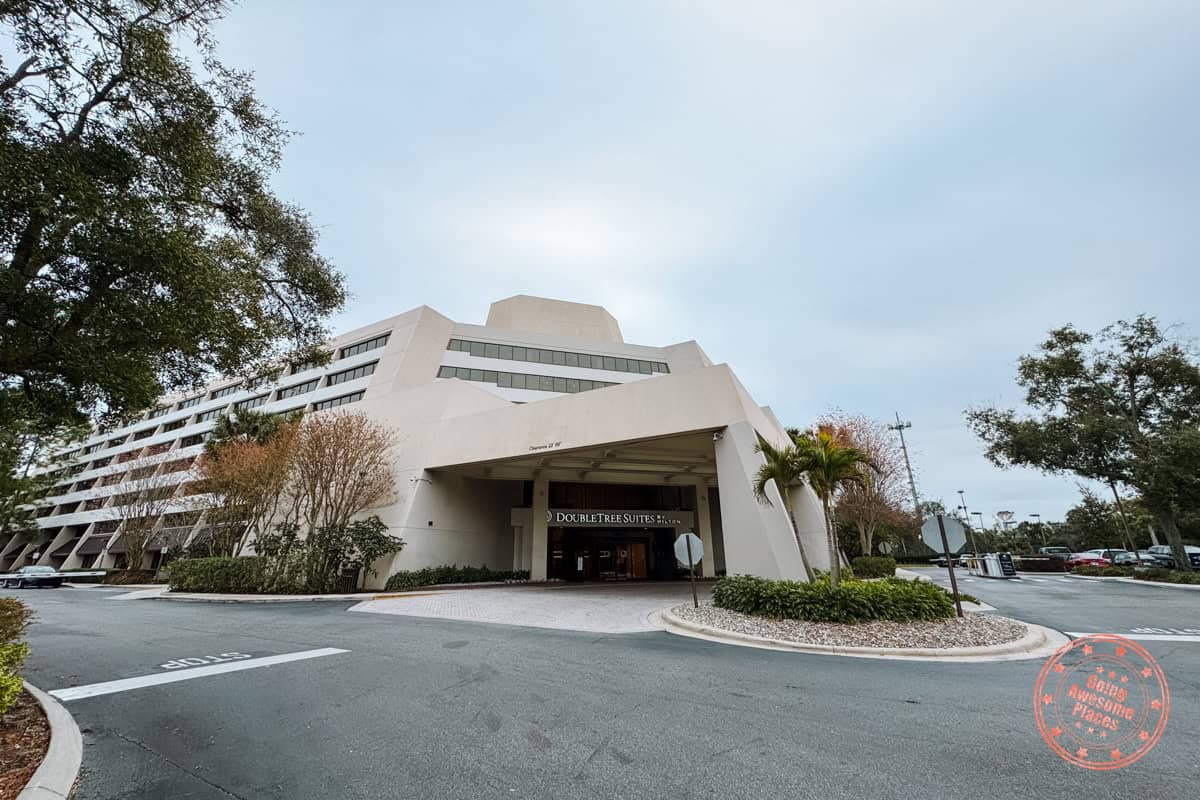
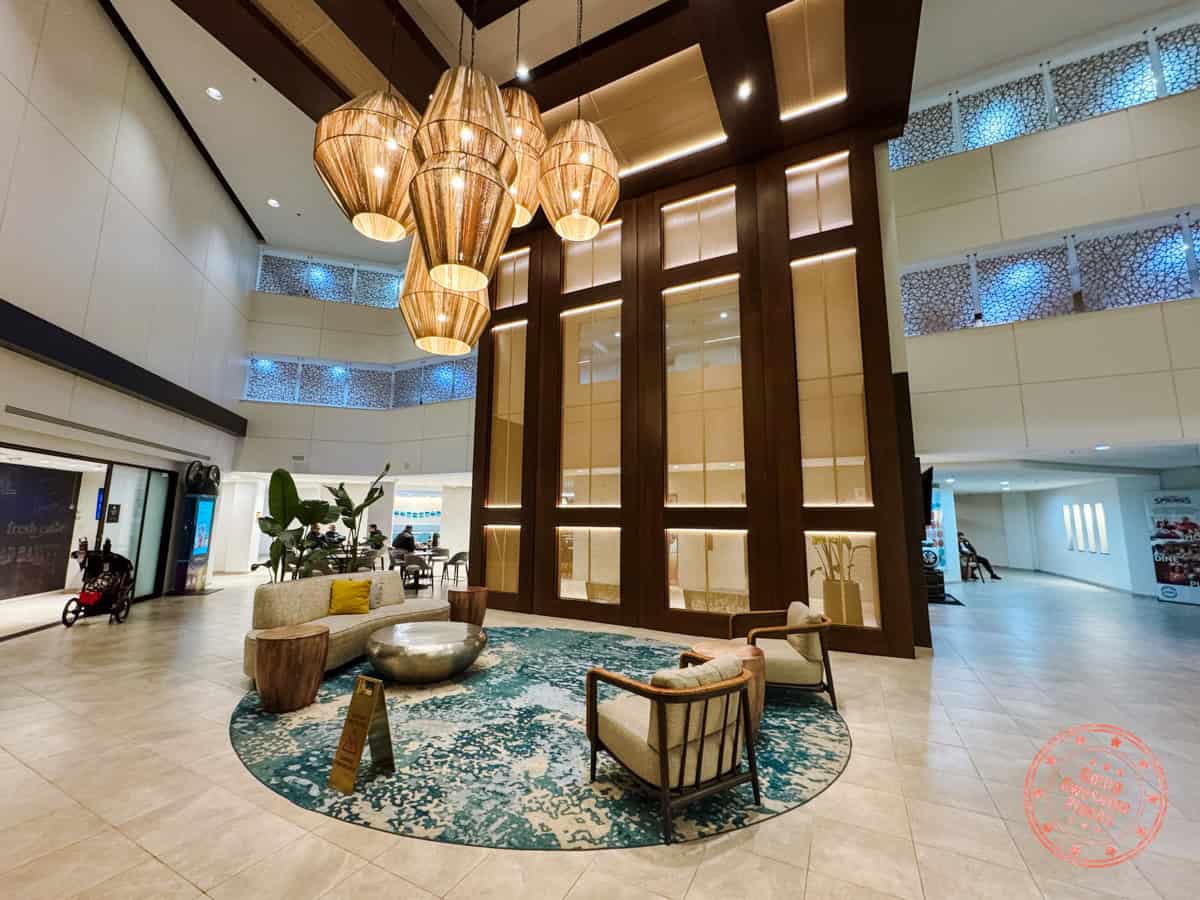
For our recent trip, we stayed at the DoubleTree Disney Springs.
What we loved about it:
- They’ve partnered with Fabulous Buses for their shuttle service and this is what gives you complimentary rides to the bus.
- The hotel is walking distance to Disney Springs.
- Ability to accrue Hilton Honors points.
- Rooms were spacious and relatively clean and included microwave, fridge, and plugs for USB-A and USB-C charging. The lobby was also newly renovated.
- The DoubleTree cookies of course!
What we didn’t love about it:
- As Hilton Honors Gold members, it fell short in terms of other status recognition. We weren’t offered any room upgrades. In fact, the only option was to pay for upgrades.
- No free buffet breakfast for Gold status members. Instead, they offer $15 vouchers per person that you can use at their convenient store or restaurant. What we ended up doing was buying $30 worth of sandwiches, yogurt, and fruits as our breakfast.
- As with most properties in Orlando, they charge a resort fee which in their case includes 2 bottles of water and DVD-rental.
- Oddly, there wasn’t a desk in our room. Instead, I had to set up a make-shift work space above the table that was used for the microwave and fridge.
- Outside of the lobby, the hotel is in need of a renovation as it does feel a bit tired and outdated. It’s spacious and fine for our purposes but it could be so much better.
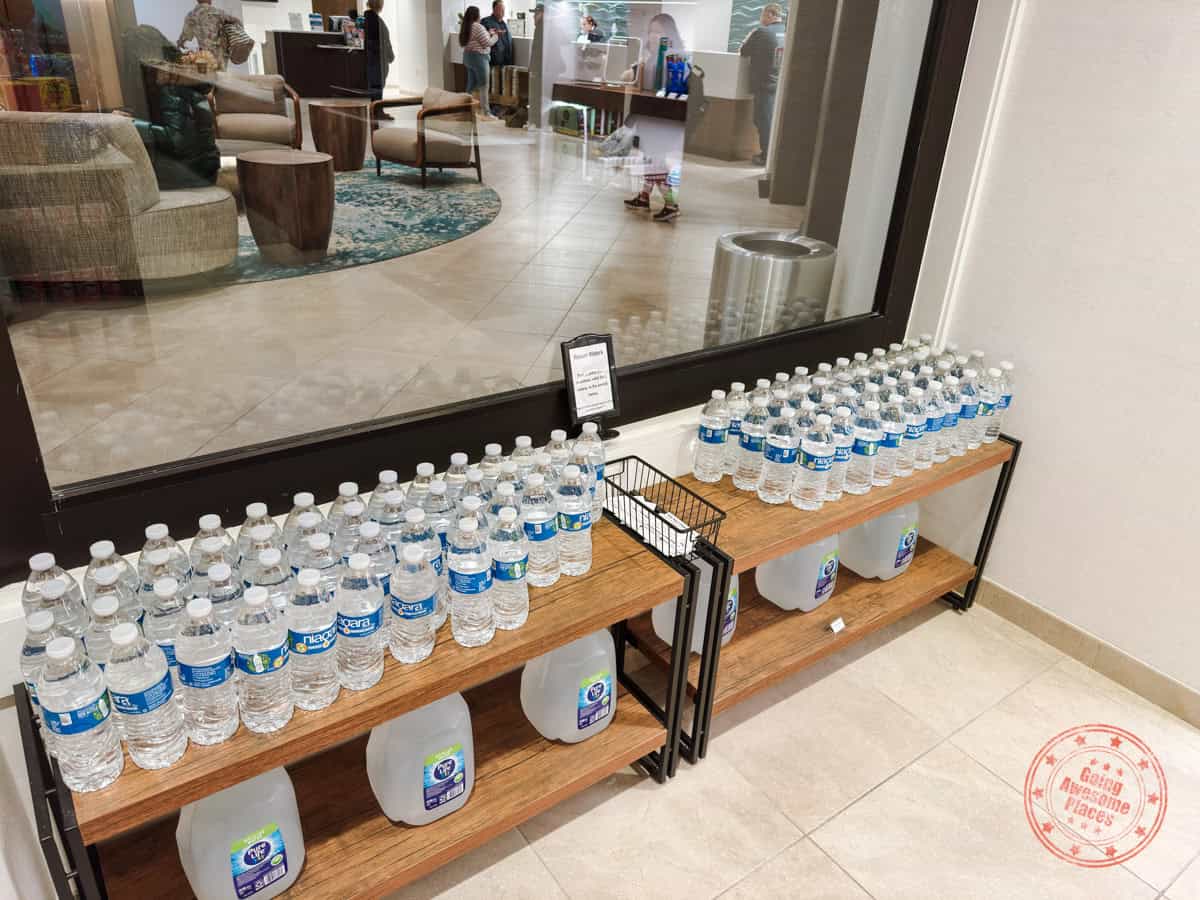
Something that I thought was rather sneaky was that DoubleTree doesn’t make it clear how to get free shuttles to the parks. You need to book these buses in advance and they don’t tell you the code unless you ask.
Taking The Shuttle To Disney
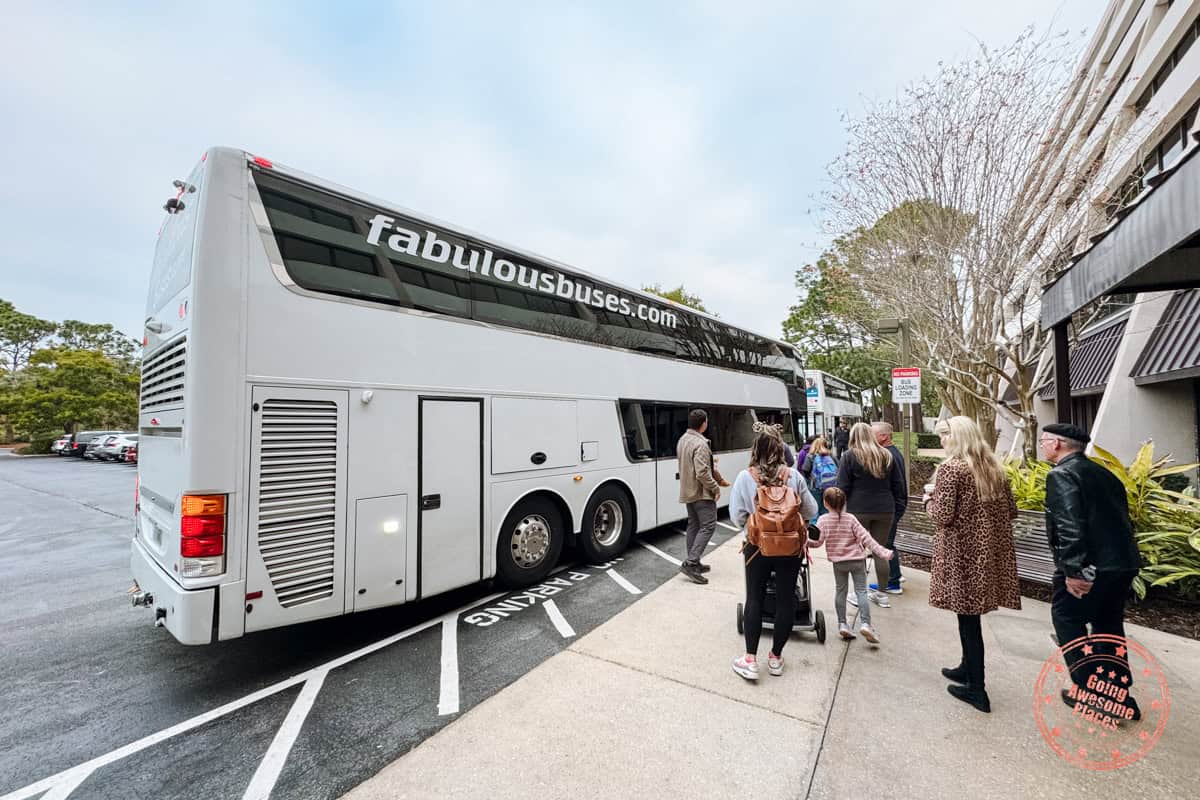 DoubleTree pick up
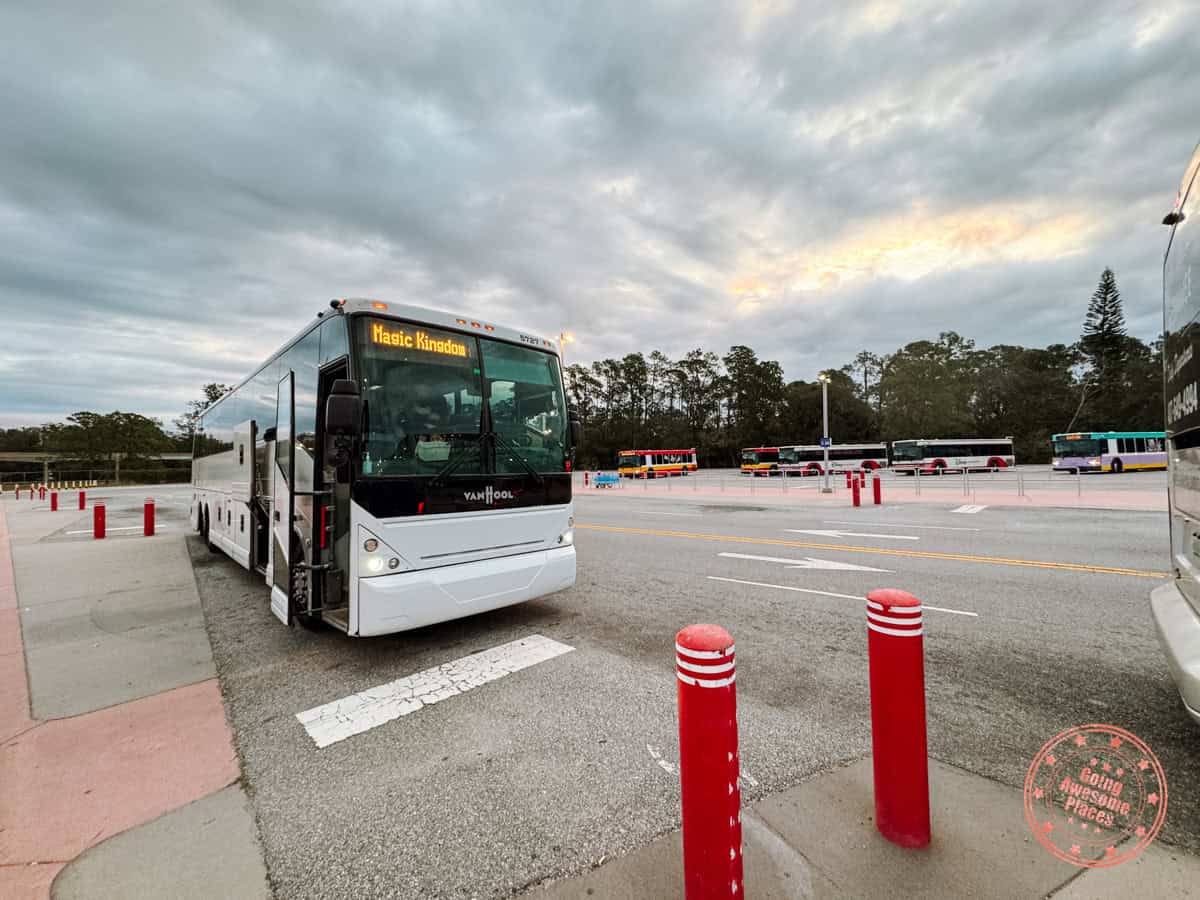 Magic Kingdom drop off
We learned quite a bit by using the DoubleTree Disney Springs shuttle system.
Shuttle details:
- You can and should book the shuttle in advance on Fabulous Buses.
- Bookings are for round trips and you have to select times for each.
- The shuttle costs $14 but guests can use them for free. The code you need to use is DTGuest.
- When selecting your return time, choose the last return time as you’re allowed to take any bus before you selected time.
- There are different shuttles for different parks so make sure you board the correct one.
The reality of taking the shuttle from the DoubleTree:
- The bus is never on time. For departures in the morning, they normally left 5-8 minutes after the listed time. On return, they were usually 15 minutes late.
- The DoubleTree is the last hotel that it services which includes the Wyndham, Holiday Inn, Renaissance.
- The exact time is different for each park but on average, it takes 20 minutes to get to the park.
- The bus drops you off in the bus stop area of the park which usually requires further walking to get to the park entrance.
- For Magic Kingdom, keep in mind that you need to take the tram or ferry so there’s extra time to account for.
- This may be a low-season thing but they didn’t scan the ticket QR codes. They barely shot a glance at the ticket. Also, on return, they never checked our tickets so conceivably, anyone could get on these shuttle buses.
- There is no wifi on the shuttle bus.
- The shuttle bus runs on a very specific schedule. For the DoubleTree line, they depart hourly at 5 minutes past the hour and on return, it’s hourly returns at 30 minutes past the hour.
- Departure – Let’s say early entry is at 8:30AM, the 8:05AM departure gets you in to close to rope drop and the 9:05AM departure
- Return – Each park is a little different but if you plan on staying for the fireworks, you’ll likely be in a bit of a predicament. For instance, if Magic Kingdom’s fireworks are at 8PM and the show is 18 minutes, you’re going to have to make a mad dash to catch the 8:30PM bus. Luckily, as we mentioned, they are usually late so we managed to make it on the bus at 9:45PM.
What Happens When Disney Can’t See All Names On The Reservation
This is an issue that we had booking a Disney Partner Hotel. Apparently Disney has limited visibility into Hilton’s systems and so they could only pull the primary guest on the reservation and couldn’t see Chantelle’s name even though I added her to the reservation through Hilton.com.
We called both Hilton and Disney to try to resolve this issue. Disney actually sent the issue to their Avengers (what they call their behind-the-scenes support team) to add her manually in but it never worked.
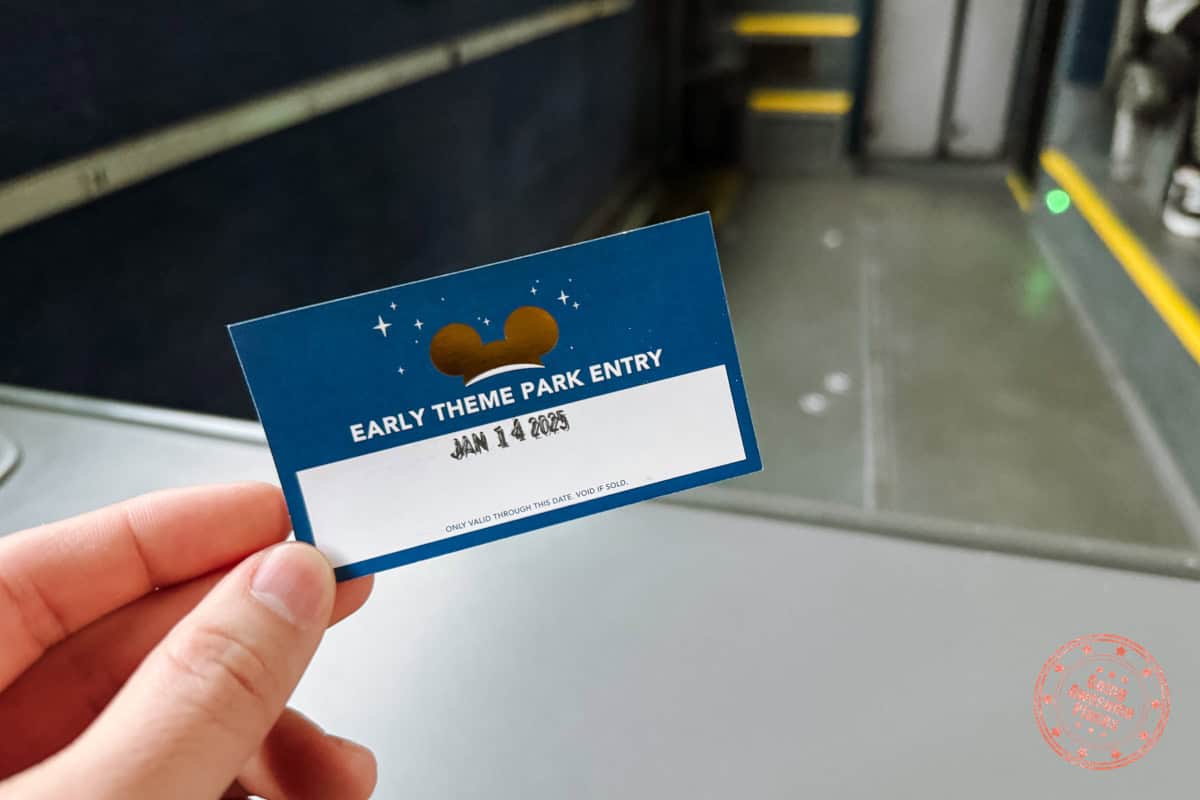
To solve this issue, on our first day, we went to Guest Services at Animal Kingdom. They recognized the issue and admitted that Disney Partner Hotels aren’t on their unified Disney hotel reservation system. To solve this problem, they wrote individual early access cards, one for each day. This would be proof that Chantelle has early park access.
If you end up reserving your stay through somewhere like Expedia or Booking.com, we have a feeling that you’ll have this issue as well. Even if you went a step further in calling the hotel afterwards to add your guest names, we’re still not sure if Disney can pick up those names.
PRO TIP: Make sure to link your Disney Partner Hotel reservation to your app once you’ve purchased your tickets. You want to make sure that account reflects that link.
PRO TIP 2: When buying your tickets online, you get access to your tickets on the app but you don’t get physical cards. We recommend that you go to Guest Services to get a physical version of your pass so you can conserve phone battery. Plus, it’s much faster.
Tip #2 – Take Advantage of the Canadian Resident Ticket Offer

Launched in January 2024, Disney World now has a benefit exclusive to Canadians. This offer allowed us to get tickets for $109/day with 4 days or longer.
For 4 day passes, you are given a period of 7 days to use them so that means you don’t need to use them on consecutive days which affords you some flexibility.
To buy your tickets, simply go to the Canadian Resident Ticket Offer landing page. Alternatively, you can also buy these tickets on Perkopolis if your company has given you access to it.
We mention this because we noticed that the price was slightly cheaper because they charge in Canadian dollars and use a more favorable exchange rate. If you purchase tickets from Disney, they will charge you in USD so make sure you use a credit card that
The one sticky part about buying this ticket though is that Disney needs to verify that you are Canadian by physically checking your ID. This means that on your first day of activating your tickets, you’ll need to go to Guest Relations. The good news is that you can still add your tickets to the Disney World app, allowing you to make reservations and get Lighting Lane.
The hitch is that Guest Relations doesn’t open until the park opens which could affect your early access or rope drop plans.
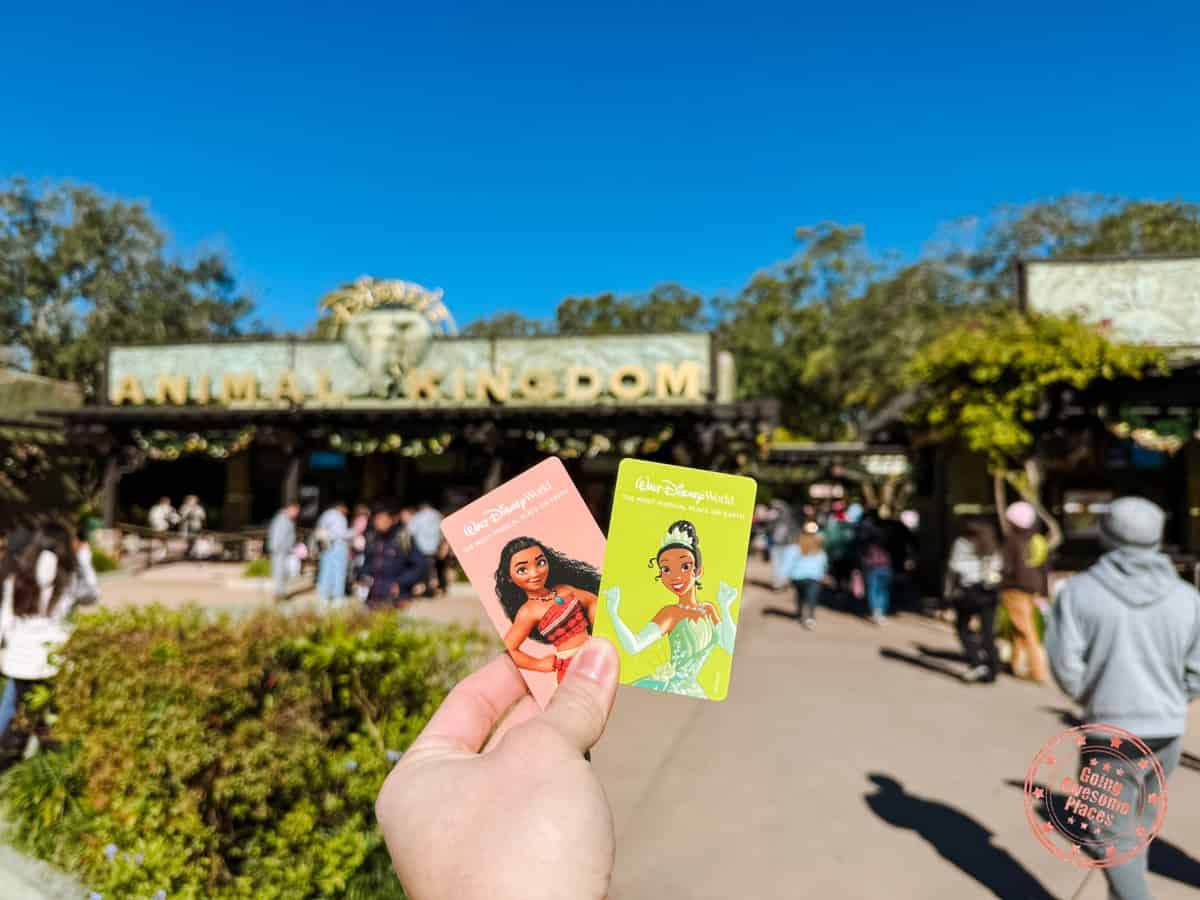
The good part about visiting Guest Relations is that you’ll be able to get a physical card. Unlike Disneyland which uses a barcode for its ticket scanning, Disney World uses tap technology. While you can add your ticket to your smartphone’s wallet (Apple Wallet or Google Wallet), we found it to be much more convenient to have a physical card readily accessible. This also helps you save battery as well.
Tip #3 – Make Sure You Link Everything To Your My Disney Experience App
Disney World has gone fully digital and to make sure you have a good experience, you need to get acquainted with how to use the My Disney Experience (iOS/Android) app.
Here are a few things you need to make sure you do before you arrive:
- Create an account and log in. If you are subscribed to Disney+, you’ll already have one.
- Add your tickets by linking your confirmation number to your account. If you purchased your tickets through Disney, this should be done automatically. Otherwise, you’ll need to do this manually.
- Link your hotel reservation to your account by entering the Confirmation Number and Last Name. This works for Disney Resorts Collection Hotels and also Disney Partner Hotels.
- Purchase Lightning Lane as soon as possible so you can make your selections as soon as they’re available. More on that later.
- Add Memory Maker to your account.
Tip #4 – Early Entry and Rope Drop Will Make Your Life Easier
I almost think of this as a rite of passage for anyone visiting Disney. It may seem a little hardcore but trust me, taking advantage of early entry perks or rope drop for those without is key to maximizing your day at the park.
How Do You Rope Drop?
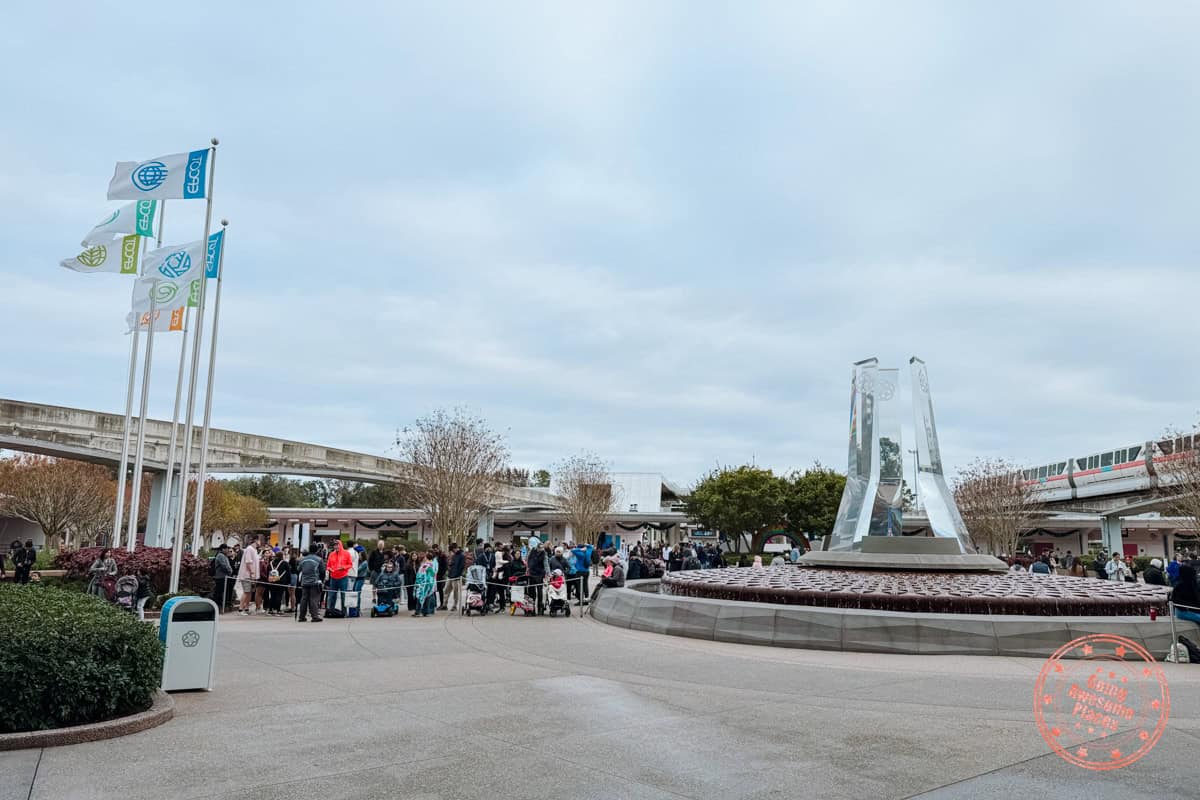 Looking back at the standard rope drop line at EPCOT
So how does rope drop work and what does it even mean?
Rope drop is essentially the strategy of getting in line before the official opening time. At specific areas of the theme park, there’s usually a physical rope preventing guests from going any further. Ceremoniously, the cast guarding the way will yell out a countdown, release the rope, and everyone rushes in.
People that do rope drop want to do it because they can be the first to enter the park, and hence, get access to rides with minimal wait times.
That said, the above is an over simplification of the process as there are several steps that proceed showing up to where the rope actually is.
- You first have to go through security – At Disney World that could mean before you get on the Monorail or Ferry to get to Magic Kingdom or Epcot, or the security right before you enter the park. Security is open early to accommodate for early access guests and regular rope drop guests.
- The ticket checking gates open early as well – For rope drop to work, the preceding steps all need to be running way in advance. This means that the ticket checking gate where you tap your card and fingerprint scan is open earlier. I don’t believe these hours are posted but they’re open easily 1 hour, if not more, before official opening.
- You can actually enter the park before opening – In Magic Kingdom’s case, you’re able to fully walk through Main Street USA. In the other parks, you’re fully walking inside.
- Decide which rope you want to go to –
- With Magic Kingdom, because of the layout, there is rope drop on the bridge leading to Tomorrowland and another to Fantasyland. To get to Adventureland and Frontierland, you’ll be escorted by cast members to those areas from Fantasyland.
- In Hollywood Studio and Animal Kingdom’s case, they had early entry ticket checkers at the individual rides themselves.
- At EPCOT, there is one main rope drop line right in front of “the ball” aka Spaceship Earth
- The time isn’t exact – Let’s say opening time is 9AM, we’ve found that they’ll drop the rope anywhere between 0-3 minutes earlier. It’s never late but it’s always earlier.
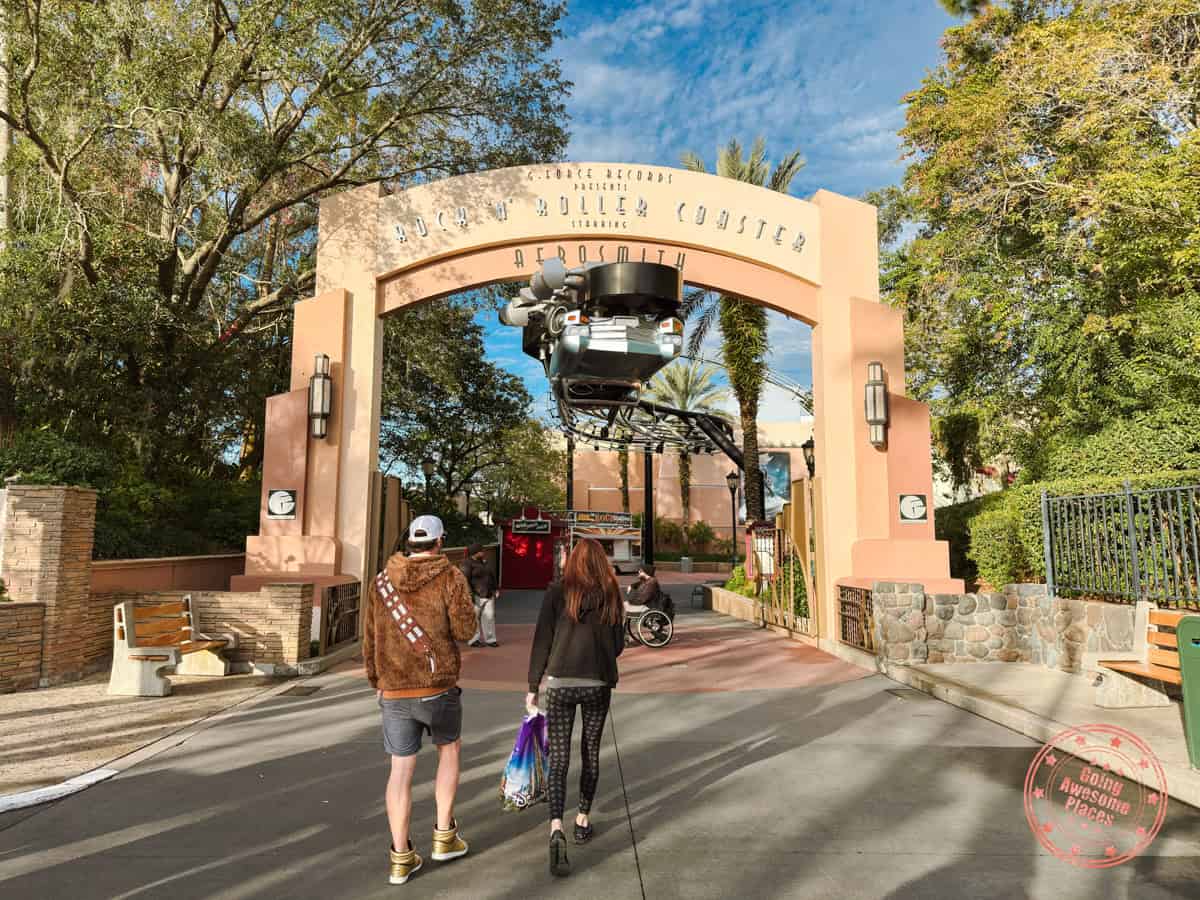 At Hollywood Studios, the ticket checker is at the entrance to the ride
Can you rope drop early access? Yes, you can! That’s why the rope drop term can be applied in both scenarios – both for early access and regular park opening. The strategy also works for both.
PRO TIP: If you want to do rope drop, we recommend that you get to the park 45-60 minutes ahead of time.
How Does Early Entry Work?
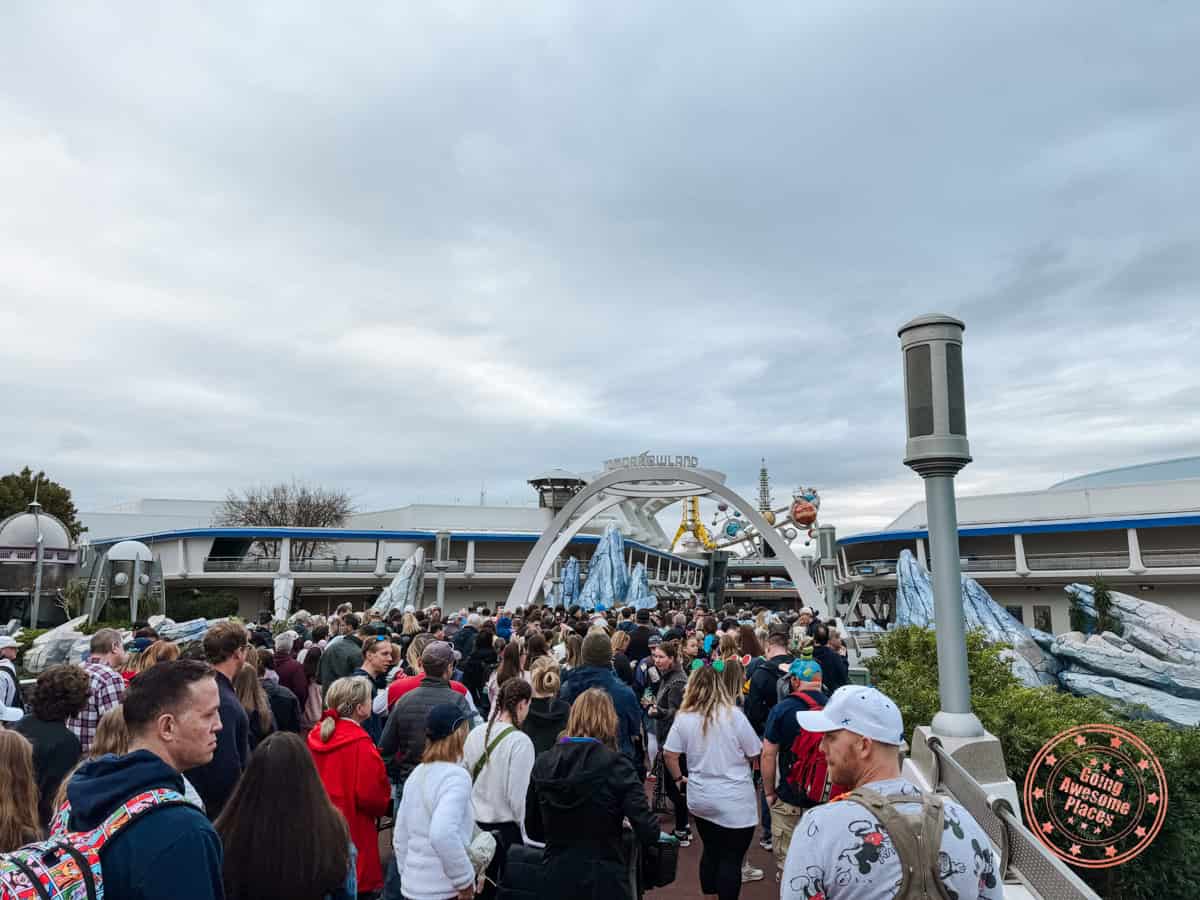 Early entry rope drop at Magic Kingdom
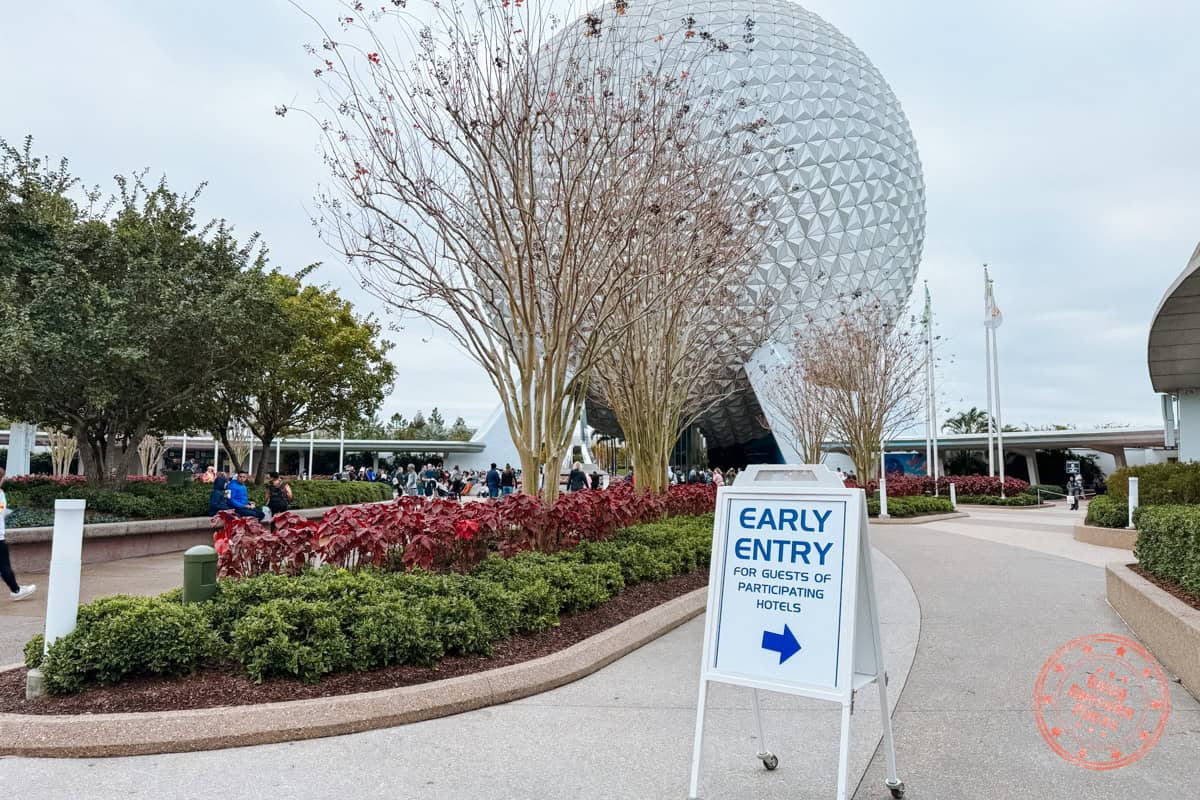 Early Entry sign at EPCOT
Let’s say the park officially opens at 9AM. This means that those with early access privileges at 8:30AM, 30 minutes before opening.
For those that want to do early access, we recommend that you arrive 30-minutes to an hour ahead of time.
Since the parks usually open an hour ahead of time, you’ll be able to first pass through security. The next step is to go through the ticket entry which will also be open beforehand. Tap your ticket
Technically-speaking, early access also has its own rope drop. All it means is that there are Cast Members using a rope to prevent entry into a section of the park. Once it’s time to go, they “drop the rope” and everyone rushes through.
A few things to keep in mind:
- Not all rides are open for early entry rope drop. The best way to check is to use the app and see if the ride has “Extended Hours” for early entry.
- At Magic Kingdom, you’d think TRON is available for early entry but for now anyways, they don’t open early.
Did Chantelle need to show her early access card? Remember how we couldn’t automatically tie Chantelle’s profile to the Disney Partner Hotel reservation? She instead got a stack of early access cards. We learned that for early access they just need to scan one person’s ticket in the party. I often tapped first and they let us both through. Therefore, I suspect that only one person in the group needs early access but to be safe, we’d still recommend getting those early access cards written out if you are in a similar situation to ours.
Making The Most Out Of Rope Drop
Whether you’re doing early access or standard rope drop, the main reason why you want to wake up so early is because the morning is guaranteed to be the quietest in the day which means that you can knock out a bunch of rides in your first hour.
The key though is to go in with a plan of attack. Similar to the strategy that we preach in our Disneyland guide, if you’re going to be making use of Lightning Lane, you actually want to go against the grain of where everyone wants to go.
The line of thinking here is that everyone will head straight towards the newest and most popular rides such as Rise of the Resistance, TRON, Slinky Dog, and Guardians. If you follow the crowd there, you’ll end up in a line that will be more than 5 minutes. Instead, find a cluster of rides you can do in rapid succession without needing to walk far.
This way, you can easily finish 3 in an hour. This means holding off your Lighting Lane passes until later.
Here are a few ideas of where to focus on:
- Magic Kingdom – Tomorrowland (Space Mountain, Buzz Lightyear’s Space Ranger Spin, Monster Inc. Laugh Floor
- Hollywood Studios – Rock ‘n’ Roller Coaster and The Twilight Zone Tower of Terror
- Animal Kingdom – Kilimanjaro Safaris (more because the wildlife is more active in the mornings)
The only exception to this rule would be EPCOT. Since the non-popular (old) rides don’t usually have long lines, we would suggest bolting straight towards the Frozen or Ratatouille ride.
By clustering rides, part of the idea is to also try your best to reduce the back and forth that you’ll need to do when trying to do rides that you missed earlier in the day. That said, that’s almost inevitable with the Lightning Lane Passes which we’ll talk about next.
Tip #5 – Take Advantage Of The New Lightning Lane Passes
As of July 24, 2024, Disney killed off Genie+ and instead, they renamed and improved the “Fast Pass” product to be now Lightning Lane Multi Pass and Lightning Lane Single Pass.
While this made things easier in some regards, it’s equally as convoluted for first-timers.
Did this change for Disneyland? At Disneyland, they got rid of Genie+ as well but renamed it to Lightning Lane Premier Pass. The thing is, they did not change the mechanics of how it works so it functions exactly how it did with Genie+.
What is Lightning Lane Multi Pass
Lightning Lane Multi Pass is the renamed Genie+ but with a bunch of new improvements.
To start, each of the Disney World parks have divided up their rides into Group One and Group Two. As you can imagine, all the highly sought after rides are in Group One and everything else is in Group Two.
By buying Lightning Lane Multi Pass, you essentially get to reserve 1 Group One ride and 2 Group Two rides. The exception is Animal Kingdom which doesn’t have any tiers so you get 3 reservations.
The times that you see are what’s available at that time and you can choose any slot. These slots are for 1 hour so you can enter in anytime within that window.
What’s supposed to alleviate the stress of using these passes is that you can now make your selections before your day in the park. For Disney and Disney Partner Hotels (including our DoubleTree), you can make your selections 7 days before the first day of your stay. For others with date-based tickets, you can make your picks 3 days prior to your first day of the ticket. This starts at 7AM EST.
PRO TIP: Calculate the exact day you become eligible to purchase Lightning Lane Multi Pass because every other hardcore guest is thinking the same thing. Get ready to pop in at 7AM and make your picks ASAP.
During your day in the park, you can always carry 3 reservations (1 Tier One rule still applies). Once you tap into your first Lightning Lane, a slot opens up, allowing you to make another reservation. This means when you’re waiting in line, you immediately want to make another booking. The good news is that you’re not locked into the next available time slot like with Genie+. Instead, they show all available slots and you get to pick one.
As a heads up, Lightning Lane Multi Pass availability does refresh throughout the day as guests change plans and the system releases openings periodically. However, Lightning Lane slots for popular rides can fill up and “sell out”. This happened to us numerous times especially for Group One rides.
It’s also worth noting that you can only Lightning Lane a ride once per day. This means that if you let’s say use Lightning Lane for Space Mountain in the morning, you can’t reserve it again later on in the day. If you want to ride it again, you have to use the Standby line.
PRO TIP: After you enter into the park, you can start making tweaks to your Lightning Lane plans and sometimes you might come across something better than what you have. Something previously not available might all of a sudden show up so it’s worth refreshing when you have time.
Lastly, each park has a different price for their Lightning Lane Multi Pass and also fluctuate dynamically with the time of year. At the moment, they are all less than $40 per person per park with the cheapest price at Animal Kingdom.
NOTE: Make sure to double check the date that you’re purchasing it for. We made a mistake here but luckily was able to get the support team to fix this for us over the phone.
What is Lightning Lane Single Pass
We’ve covered the first of the Lightning Lane products. The second is the Lightning Lane Single Pass. These are for the ultra-coveted rides. The super duper premium rides if you will.
These are the single pass rides:
- Magic Kingdom – Seven Dwarfs Mine Train
- Magic Kingdom – TRON Lightcycle Run
- EPCOT – Guardians of the Galaxy: Cosmic Rewind
- Hollywood Studios – Star Wars Rise of the Resistance
- Animal Kingdom – Avatar Flight of Passage
As you can tell, there is at least one for each of the four Disney World parks. These are rides that are completely pay to play as in if you want to use their Lightning Lane, you have to pay a one off fee.
These are ultimately more expensive compared to the Lightning Lane Multi Pass because you’re paying on average $20 for one ride per person versus it being good for multiple rides throughout the day.
Should you pay for Lightning Lane Single Pass? The price is undoubtedly steep but we think the price is worth it to avoid the dilemma of having to wait 70 minutes in line for a ride and the stress of figuring out the best time to do it versus just popping by for your time slot and getting on your ride in 10 minutes flat.
PRO TIP: You can hold a Virtual Queue and Lightning Lane Single Pass for the same ride. More on that further below!
How To Make The Most Out Of Lightning Lane
With the new Lightning Lane system, we honestly tried our best to make it as efficient as possible but the truth is, the disadvantage is that it’ll force you to run between different parts of the park because you’re at the whim of availability.
In a perfect world, you could line up the reservations according to a linear way of seeing Disney World theme park. Instead, the reality is a crazy criss-crossing of lines.
That said, that’s not to say that you can’t think about it ahead of time. Especially if you can make your reservations 7 days in advance, you have a huge leg up on everyone else. Think about the path you want to walk throughout the day, where you want to eat, and pick ideal time slots for each of the rides.
If you’re not as lucky, as it was for us, you just have to make it work by spacing things out as much as possible, giving you time to travel from one area to another. If possible, try to cluster reservations that are in the same area together.
For maximum use of Lightning Lane Multi Pass, you pretty much always want to have 3 attractions booked. This strategy works particularly well especially knowing that within the My Disney Experience app, that you can modify and roll the dice on finding a better reservation.
If you’ve really made the most of your Lightning Lane Multi Pass, near the end of the night, there really won’t be much left for you to reserve. That’s because you’ve done everything that you wanted to do!
Lightning Lane Tips & Tricks
Here are our extremely useful things to know that’ll help you lower your stress while at Disney World.
- You can show up early for your Lightning Lane time slot but only by 5 minutes. They seemed to be more strict about this surprisingly.
- You can also show up late for your Lightning Lane time slots for at least 30 minutes. I’m sure you can push this further but we didn’t test it.
- Contradicting #1, there were a few times where we showed up 10 minutes before our time slot and the cast members manning the Lightning Lane just let us through.
- Knowing the above, you can easily stagger reservations (i.e. 1:00PM to 2:00PM and 1:30PM to 3:30PM) although we feel like that would stress us out.
- You’re going to be tapping your Disney ticket a lot. While you can add your ticket to your phone’s digital wallet, save the battery life and just make sure you have your card handy in your pocket.
- There are some rides that require an initial tap and then another one inside. Don’t forget that second tap. The system will put you in limbo and that Multi Pass slot becomes locked. If this happens, you’ll be forced to go back to the ride and tap the one you missed.
- If you know you aren’t going to make a Lightning Lane reservation, make sure to cancel it ahead of time. Similar to the above, you could be put in a situation where that ride never completed and so the Multi Pass slot is held up. If this happens, go to the ride and just let them know what happened and tap in to unfreeze it.
PRO TIP: If you’re serious about this, you really should have a good idea of what your Plan A and Plan B for selections are.
Is it worth it? If it’s within your budget, we say a resounding yes. At Disney World, time is precious and our opinion is that you didn’t go all the way there to be standing in line all day. With both Lightning Lane products, you’ll be able to see way more attractions and waste less time in the never-ending queues.
Tip #6 – You Don’t Want To Go Through Secondary Security
The way they do security at Disney World is different from Disneyland because they use these walk-through scanners.
I love that you don’t need to go through the standard airport-style x-rays for your bags and what’s in your pockets. This makes the screening process seamless and most importantly, faster, especially if you’re trying to make rope drop.
Instead, you walk through a detector on one end and on the other end is a guard that gets a green or red indication of whether you’re good or not.
This works great if you don’t get flagged but if you do get flagged, it’s a massive headache.
Common Reasons For Getting Flagged
- Parents with strollers although this could be because they weren’t lining up in the correct line. Strollers, wheelchairs, and ECVs are supposed to go through a separate line.
- Suitcases/luggage
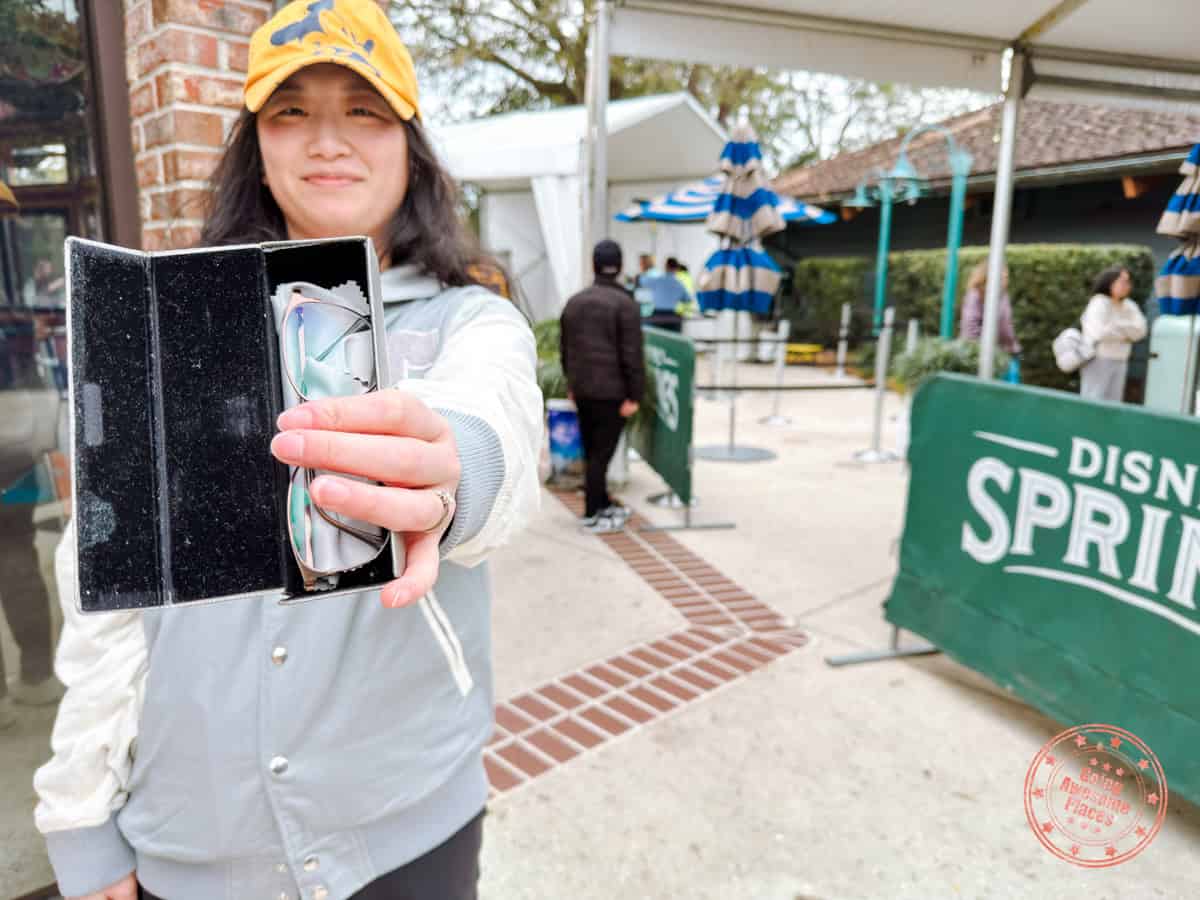
- Sunglasses/eyeglass cases *pay attention to this*
- Umbrellas
The last two items are the unusual items but in speaking to security at Disney World, they jokingly accurately predicted what was triggering the secondary search. Apparently, large metal objects and strong magnets (in the sunglasses case) get picked up.
PRO TIP: When walking through the scanner, take out the sunglasses case/umbrella and explicitely hold it in your hand. We started doing this and we were never flagged again.
What The Secondary Security Check Experience Is Like
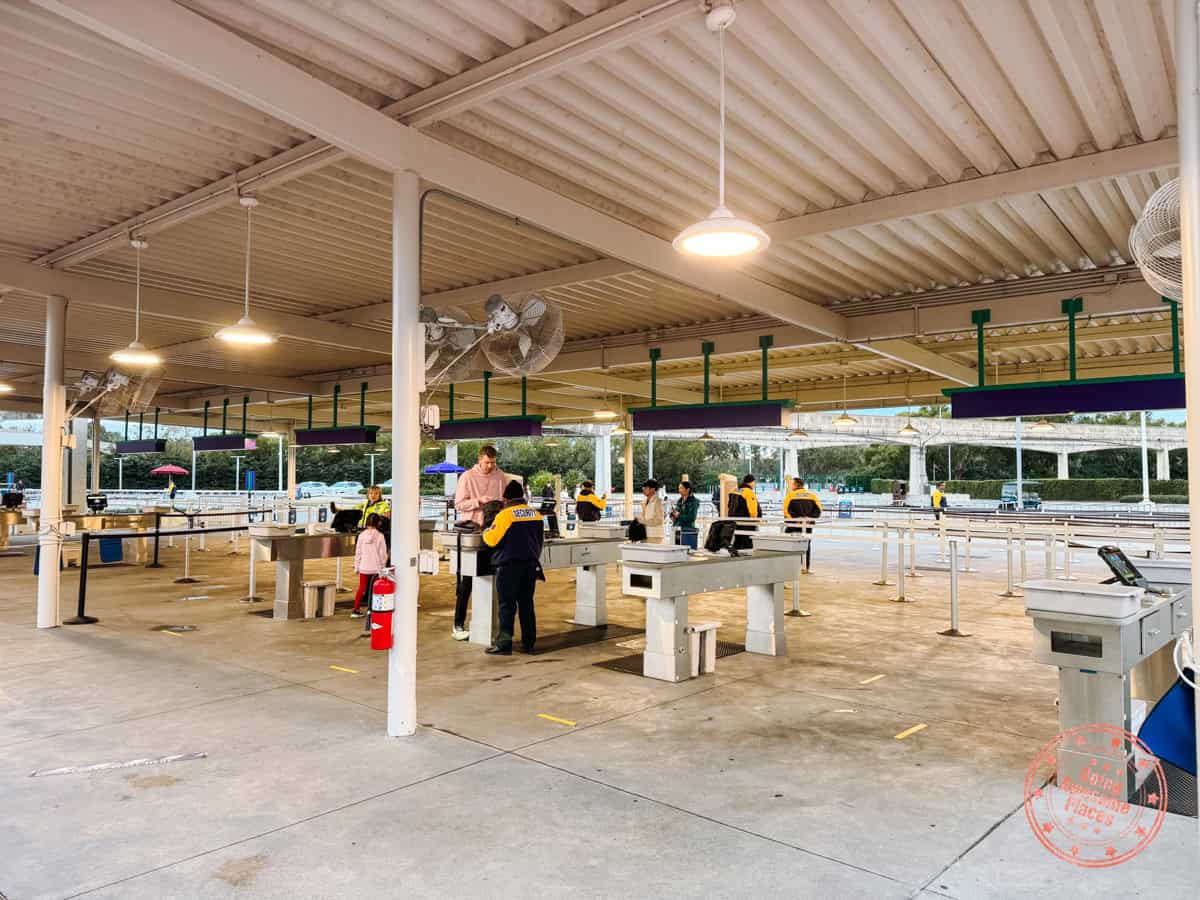
I’m not going to lie, they were extremely thorough. This is coming from someone that came into Animal Kingdom with our full carry-on suitcase straight from the airport.
The security guard was extremely nice about it but they wanted every single compartment opened and looked through every crevice. I was surprised how thorough they were and as a result, how long it took.
SUPER PRO TIP: If you’re a theme park pro, you might actually just want to rock a clear backpack. This way, they can see the items at quick glance and let you through the secondary screening faster.
Lesson? If you’re in a rush, you definitely want to avoid getting put into the secondary check lane. Depending on how many people are already waiting in line, this could put you back another 10-15 minutes.
Tip #7 – Remember To Take Advantage Of The Virtual Queue
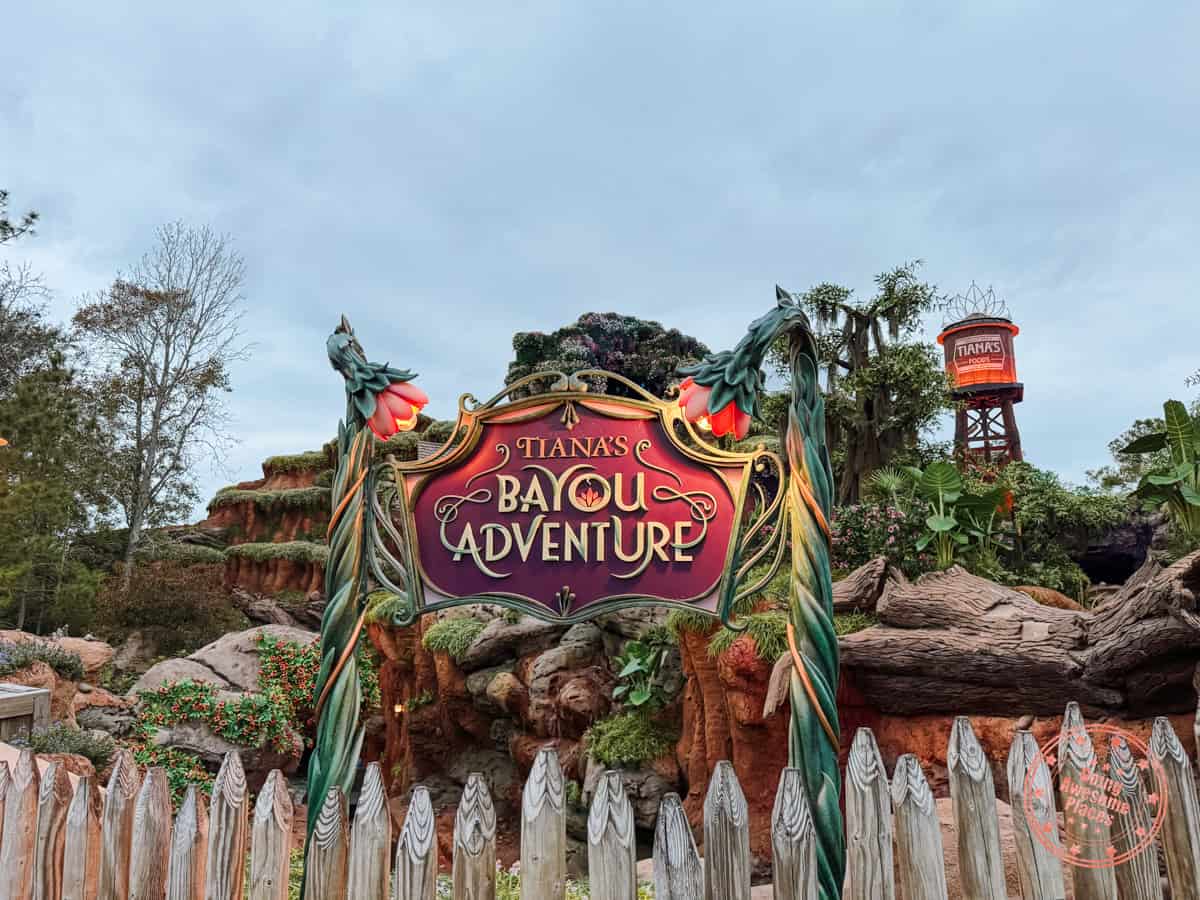
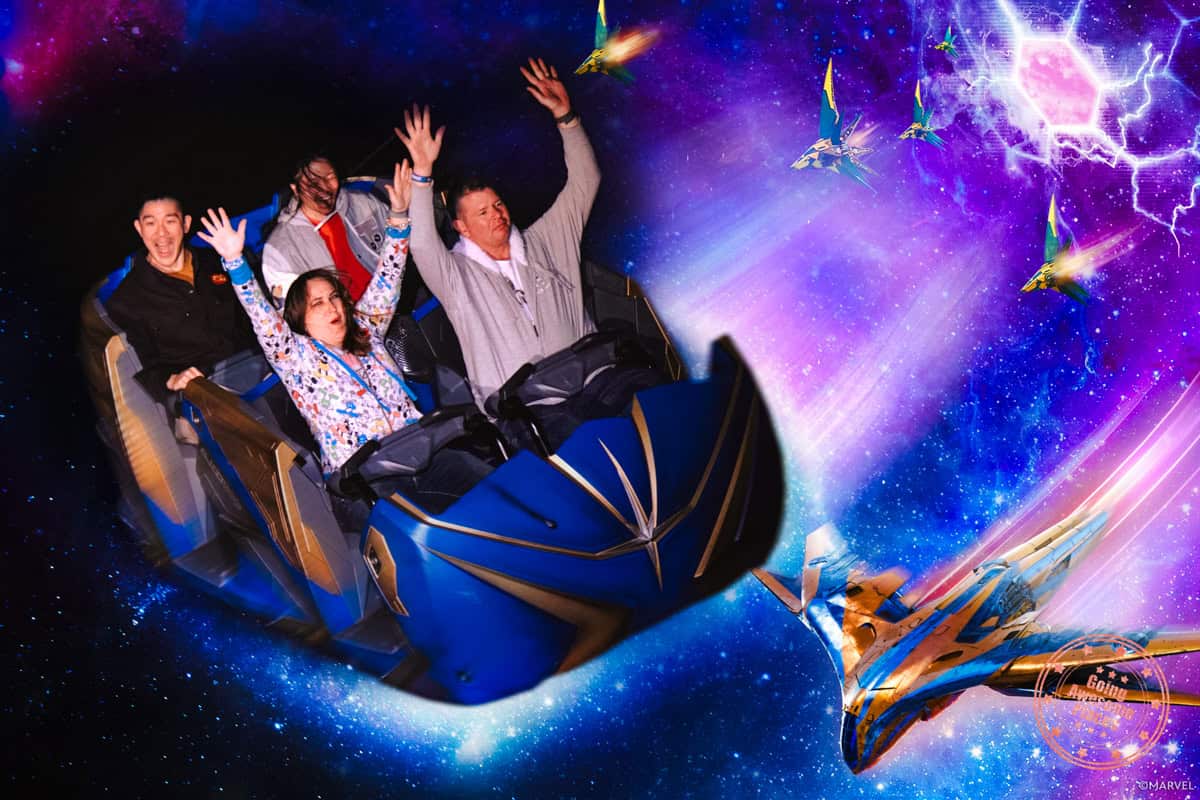
A sneaky feature that everyone should take advantage of is the Virtual Queue. It’s a free way to get on a few A-list rides.
How The Virtual Queue Works
Here’s how it works. Currently at Disney World, Virtual Queue is used for the following attractions:
- Magic Kingdom – Tiana’s Bayou Adventure
- EPCOT – Guardians of the Galaxy: Cosmic Rewind
There are two times when the Virtual Queue opens
- 7AM – You can be outside of the park when you do this but you need to have a valid theme park reservation
- 1PM – You must be inside the park
Another rule you need to adhere to is that you can only be on one virtual queue at a time. This shouldn’t be an issue since the two rides are in different parks but if you’re park hopping, that’s something to consider.
There is no cost to joining the Virtual Queue so this could be one way that you save money on paying for Lightning Lane Single Pass for Guardians of the Galaxy: Cosmic Rewind.
Joining The Virtual Queue
To get on the virtual queue, open the My Disney Experience app a few minutes before the time slot and on the home page, you’ll see the Virtual Queue section. When it’s close to the time, check to see if it’s opened and join the queue as quickly as possible.
These virtual queues are incredibly competitive so you pretty much need to get on in the first 3-4 minutes before they run out.
PRO TIP: Set an alarm 5 minutes before the start of the Virtual Queue on your phone so you remember to do this. We had a lot of trouble remembering the 7AM so we were only able to attempt the 1PM one.
How Does The Virtual Queue Get Distributed
This is essentially first-come-first-serve.
Once you enter the queue, you’ll be put into groups and the system will provide you with your group number but more importantly, your Estimated Callback.
This is another one of those wrenches in your plans to have an optimal walkthrough of the theme park. In our case, we got into the Virtual Queue at 1PM for Guardians and our Estimated Callback was actually 3:20PM. You’ll have an hour window to make it but for us, we had to re-arrange the day to make it work.
Is the Virtual Queue line the same as Lightning Lane? No, it’s actually not the same line. In Guardians’s case, we were simply put into the regular Standby Line. At that time of the day in the afternoon, they actually closed it to regular Standby which is more.
Currently, Virtual Queue is pretty limited on which rides it works for but for the two at Disney World, it’s definitely worth it. You can be guaranteed to get it as long as you check at 7AM or 1PM on the dot.
Tip #8 – Memory Maker Is Worth It




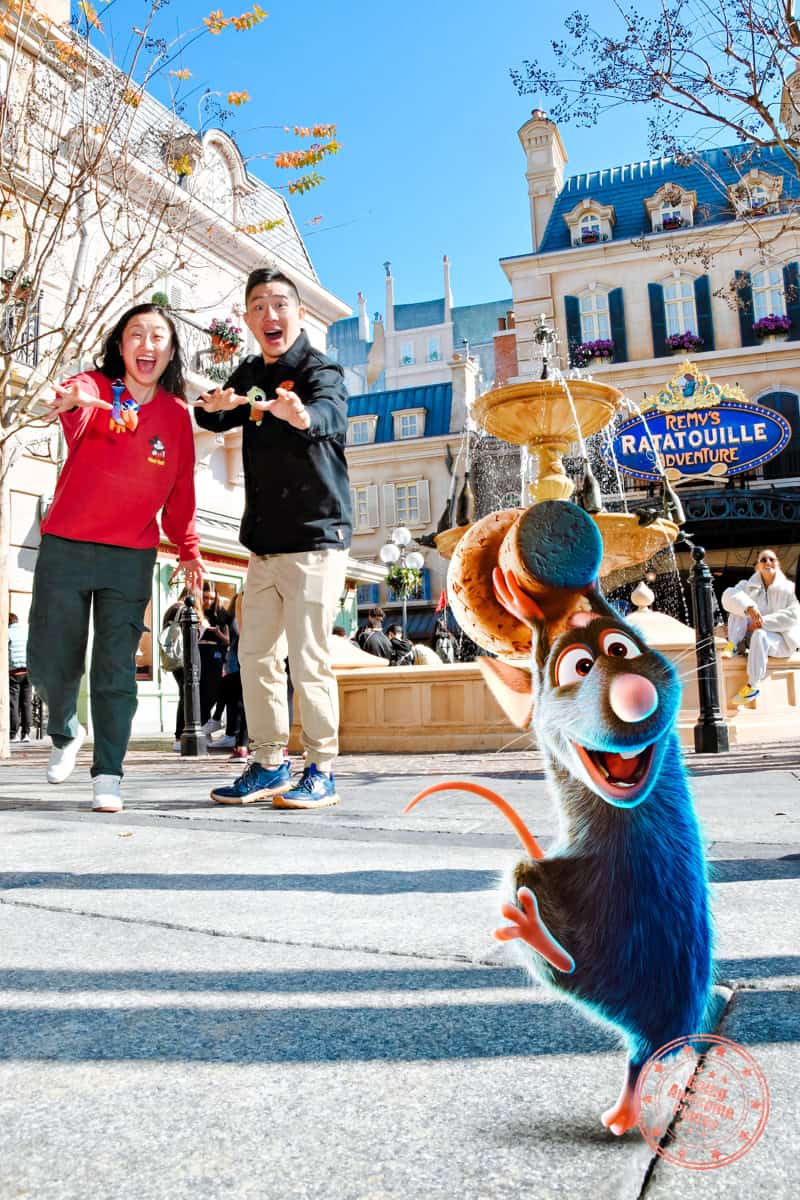
When we first heard about Memory Maker, we instinctively felt like this wasn’t something we needed. Why pay for photographers when we can shoot our own selfies? Boy were we wrong!
On our visit to Disneyland, we tried it out and realized that it is such a handy feature with photographers at all of the best locations with the benefit of them being able to pose us as a group and also producing the higher quality photos compared to our smartphones (especially at night).
The beauty of Disneyland, however, is that it’s bundled with the purchase of Lightning Lane Premier Pass. At Disney World, that isn’t the case. Instead, it’s a product that you need to pay for, either beforehand (cheaper) or afterwards (more expensive).
If you love and appreciate good photos as we do, the price of Memory Maker is worth its weight in gold.
What Does Memory Maker Give You Access To?
You can in theory take advantage of PhotoPass photographers and add ride photos to your account by tapping your card but the problem is that you won’t be able to download them to your phone or computer.
By purchasing Memory Maker, you get unlimited downloads of these photos.
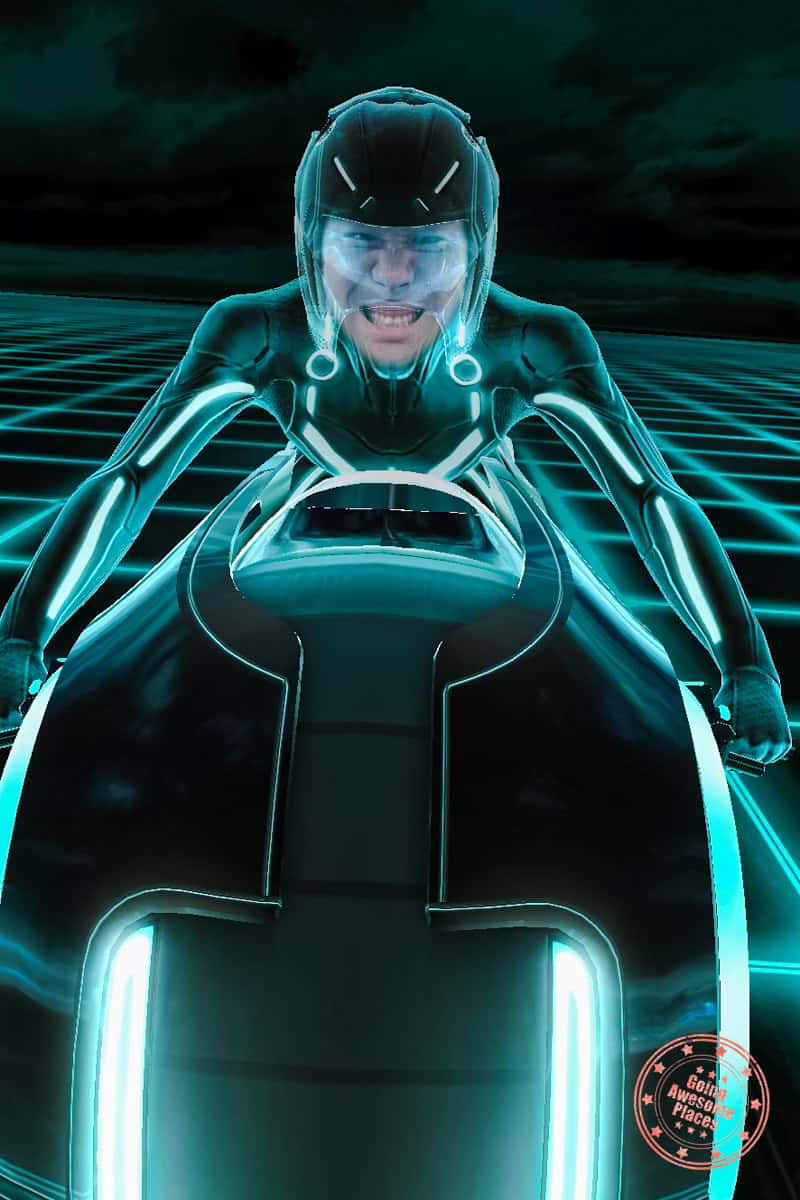

Another small feature you unlock by having Memory Maker are the PhotoLenses. These are fun filters that you can take where selfies have Mickey peeking through your shoulder, or they turn you into a zombie.
On your phone, you can download the photos in Medium and High quality.
PhotoPass Photographers
PhotoPass photographers are stationed all over the park. They wear their a distinctive grey vest with green and blue. The only exception is in Galaxy’s Edge where they are dressed as citizens of Batuu.
Here’s how you use PhotoPass:
- Line up behind the photographer.
- You can put your bags near the photographer or he/she will let you know where you can put things down.
- They’ll take your photo (usually 3-4 shots). They sometimes have props and they have the ability to do something called Magic Shots. At select locations, they also have Super Zoom and Tiny World Magic Shots.
- When you’re done, you’ll tap your ticket on their device.
- Regular photos show up onto your account almost immediately while Magic Shots can take some time.
Depending on the location, they also automatically generate either fun graphics, photo editing styles, and videos based on the photo as a bonus. You’ll sometimes also get pro photos of the area that you were in.
What are Magic Shots? These are photos where they super-impose digital characters into your photo. In many cases they place images on your hands but they can also be ones that appear beside you or in front of you. Some are better than others but they do introduce another level of fun to the photos.
 Automated photos at meet and greet
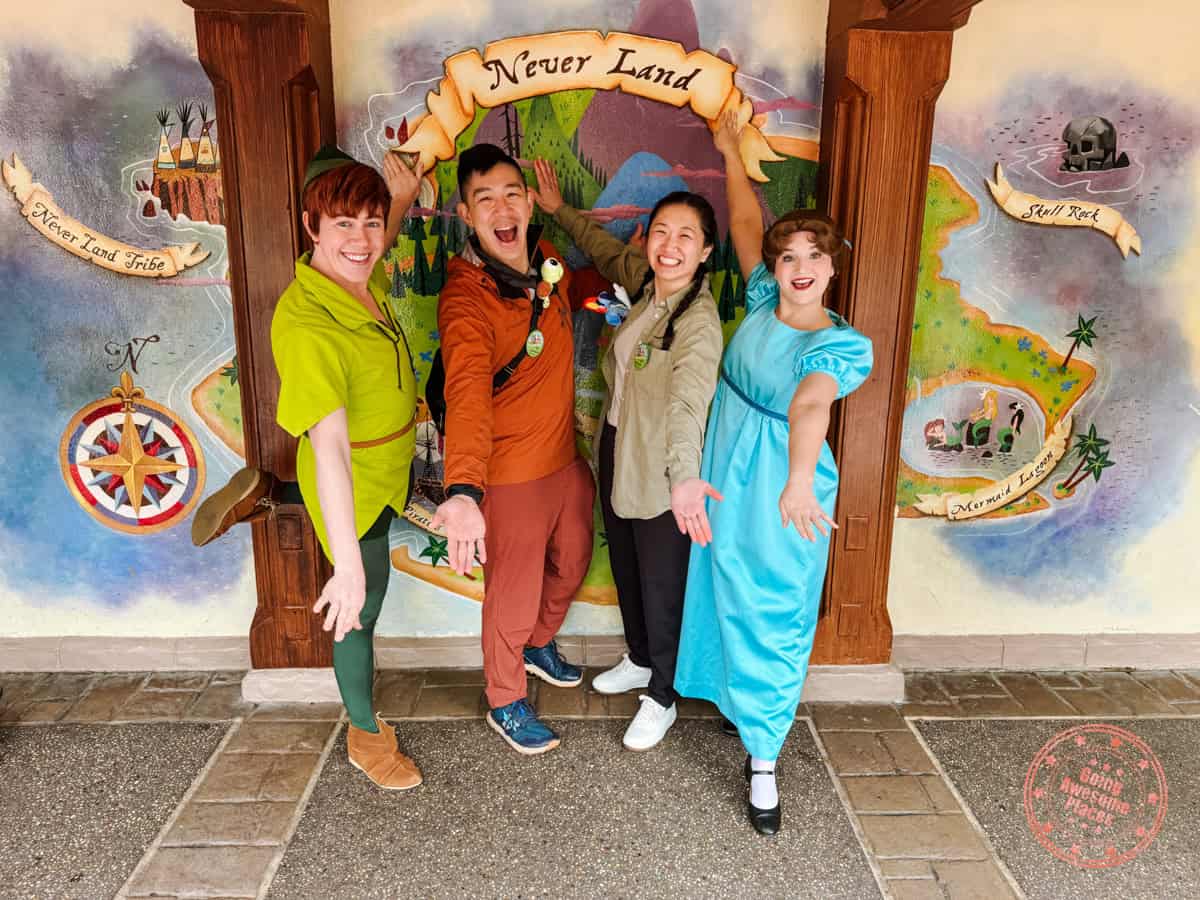 Manually taken phone photos at meet and greet
Do they have PhotoPass photographers at meet and greets? They actually don’t have photographers there. Instead, there are automated cameras placed in the room that a Cast Member activates so don’t worry, you’ll get some great photos. There are a few exceptions though with characters that make periodic appearances in the park. In those cases, you can ask the Cast Member to take a photo for you on your smartphone.
PRO TIP 1: The best photographers are unquestionably in Galaxy’s Edge. They are the most professional out of all of the ones we interacted with (this is coming from a Will who was a wedding photographer). This is a must for Star Wars fans.
PRO TIP 2: If you don’t say anything, the photographers will be good about posing you but don’t be afraid to make special requests. And if they don’t get a chance to do a Magic Shot with you, ask for it. Every one is capable of doing them.
Attraction Photos

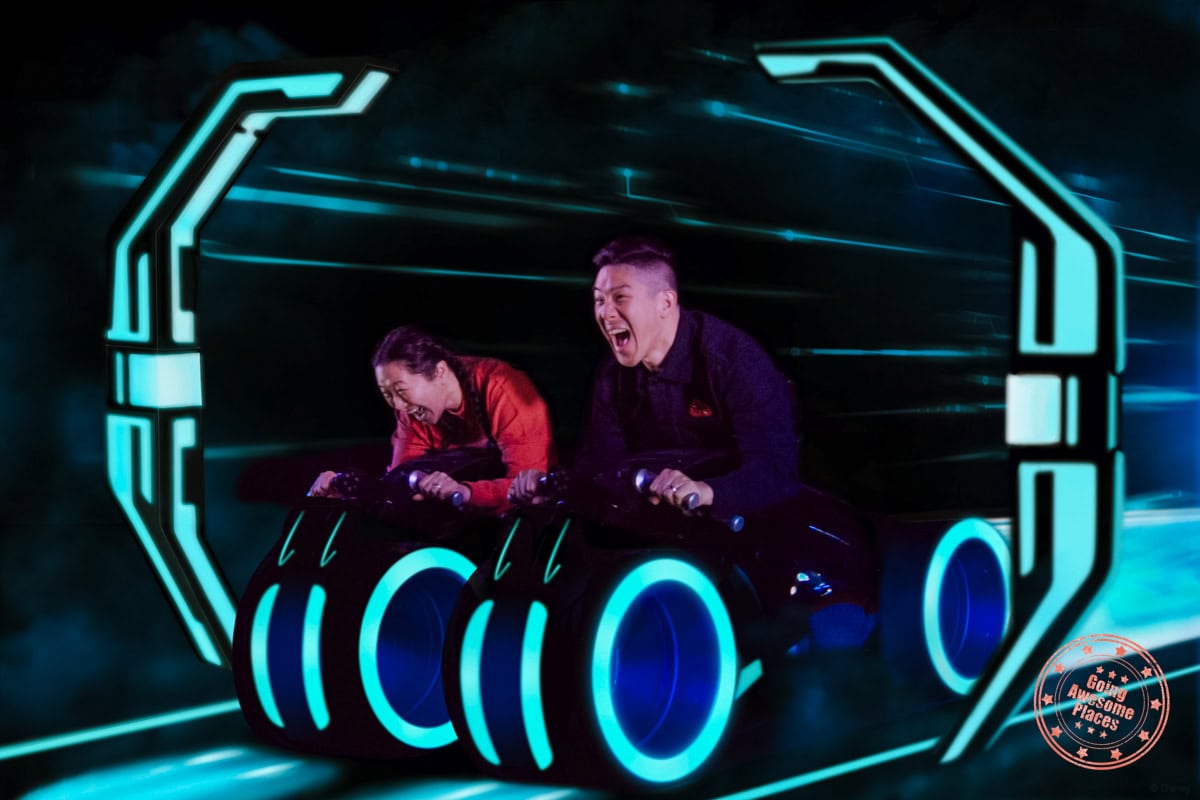
PhotoPass also includes photos that are taken at specific rides.
- Magic Kingdom – Buzz Lightyear’s Space Ranger Spin
- Magic Kingdom – Space Mountain
- Magic Kingdom – Haunted Mansion
- Magic Kingdom – Pirates of the Caribbean
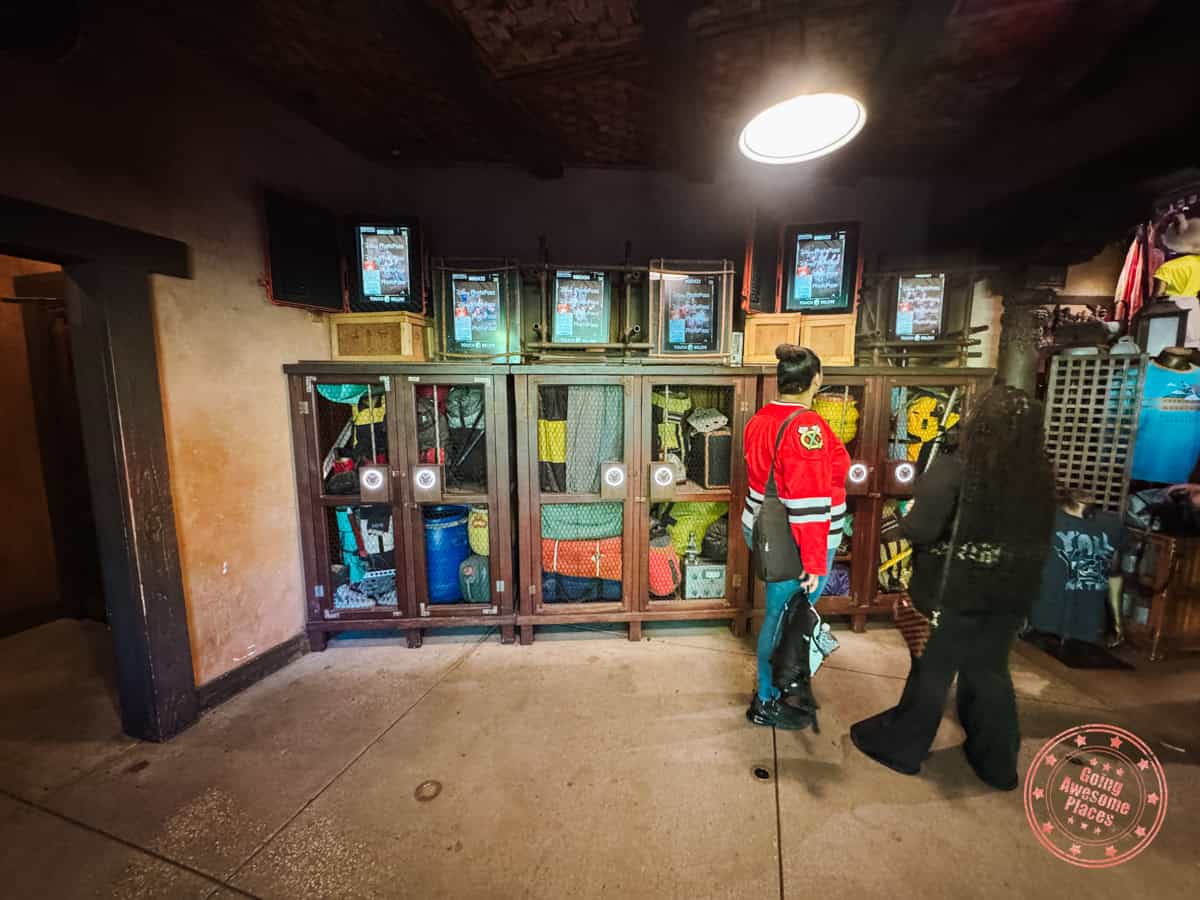
- Magic Kingdom – TRON Lightcycle
- Magic Kingdom – Seven Dwarfs Mine Train
- Animal Kingdom – DINOSAUR
- Animal Kingdom – Expedition Everest – Legend of the Forbidden Mountain
- Hollywood Studios – Rock ‘n’ Roller Coaster
- Hollywood Studios – Slinky Dog Dash
- Hollywood Studios – The Twilight Zone Tower of Terror
- EPCOT – Frozen Ever After
- EPCOT – Guardians of the Galaxy: Cosmic Rewind
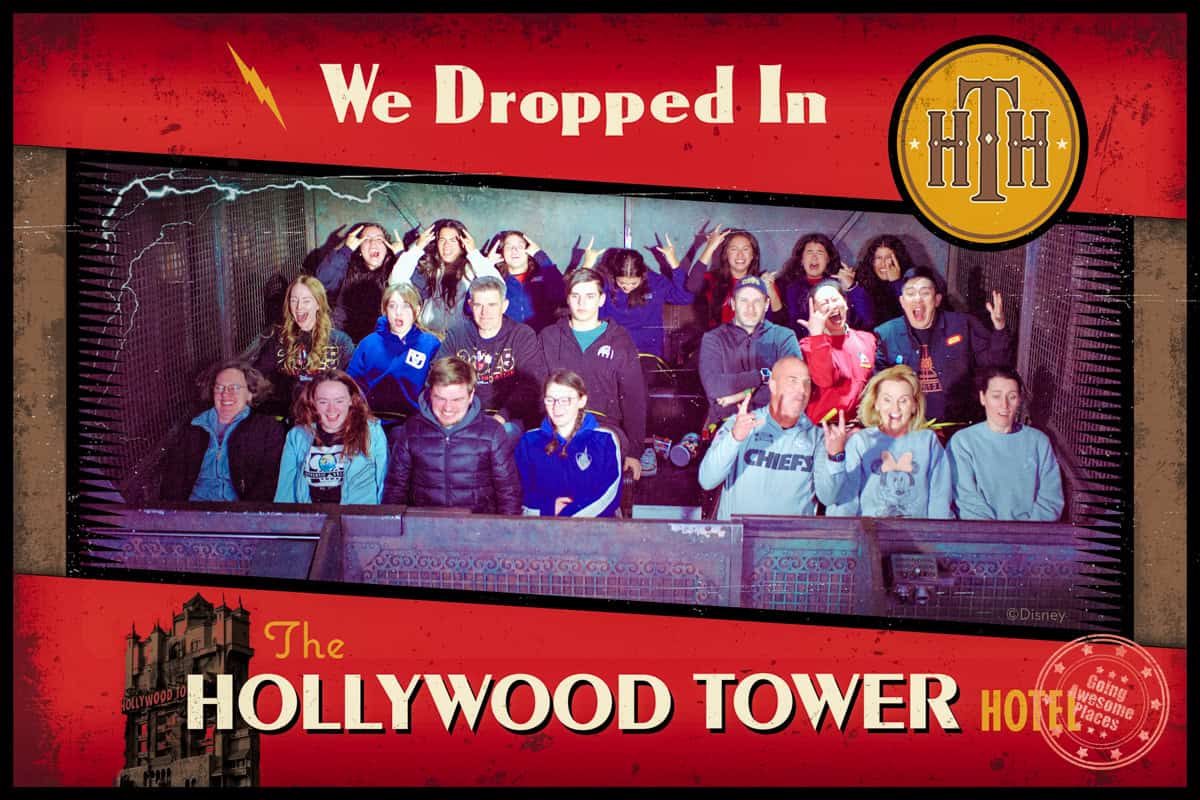
- EPCOT – Test Track
For most rides, on your way out, there are screens that display the most recent photos and if you see yours, you tap your card on the circle below the screen and it’ll tie it to your account.
Disney World is also using technology to automatically associate photos to your account because there are some rides that don’t have screens display photos on the way out. Instead, they just magically appear in your account.
We were amazed by how this worked so we asked Cast Members how they did it. Apparently, they use bluetooth to connect you with the car and seat you’re in. That’s why the My Disney Experience app asks for bluetooth permissions.
From our experience, this worked most of the time but not all of the times. It’s possible that you could be in car/seat where the sensor is glitched. In this case, you’re out of luck with your photos.
Something cool that they’re doing with certain rides (TRON Lightcycle, The Twilight Zone Tower of Terror, and Seven Dwarfs Mine Train), they also record video as well and turn it into a fun clip.
PRO TIP: For a ride like TRON Lightcycle where they encourage you to put your things into the lockers, make sure to keep your phone on you. If you don’t, you won’t get your photos.
How much is Memory Maker?
Currently, the price of Memory Maker when you purchase it 3 days in advance is $185. If you pay for Memory Maker during your trip or afterwards, it’s $210. This is pricing is not dynamic so it is the same throughout the year. With this package, you can use this service for 30 days.
They also offer one-day Memory Maker as well and this is $75.
All photos are available for download 45 days from the date that they are taken. Once they expire, they’ll be gone.
PRO TIP 1: Only one person needs to purchase Memory Maker for the group. This is the person that needs to tap the machines to associate photos with the account. That said, if someone makes the mistake of tapping their card instead, there is a way to download the photos of up to 25 members of your group.
PRO TIP 2: If you’re purchasing Memory Maker in advance, make sure to activate it 3 days prior to the first day in the park. Otherwise,
FUN FACT: Since Memory Maker is valid for 30 days from activation so in theory, if you spent 30 consecutive days at Disney, you’ll have full access to all of your photos.
PhotoPass vs. Memory Maker
I will admit, Disney makes this incredibly confusing because of how they label things within the app and their general literature on the website.
What’s important is this:
- Memory Maker is the product you buy that unlocks the ability to download photos you take in the parks.
- PhotoPass is the generalized name for the photography service. This is the combination of photographers, photos taken on rides, meet and greets, and PhotoPass Lenses within the app.
Where are the locations of all PhotoPass photographers? In the My Disney Experience app, when you use the map, you can filter by PhotoPass and you’ll see where all the photographers are supposed to be stationed at.
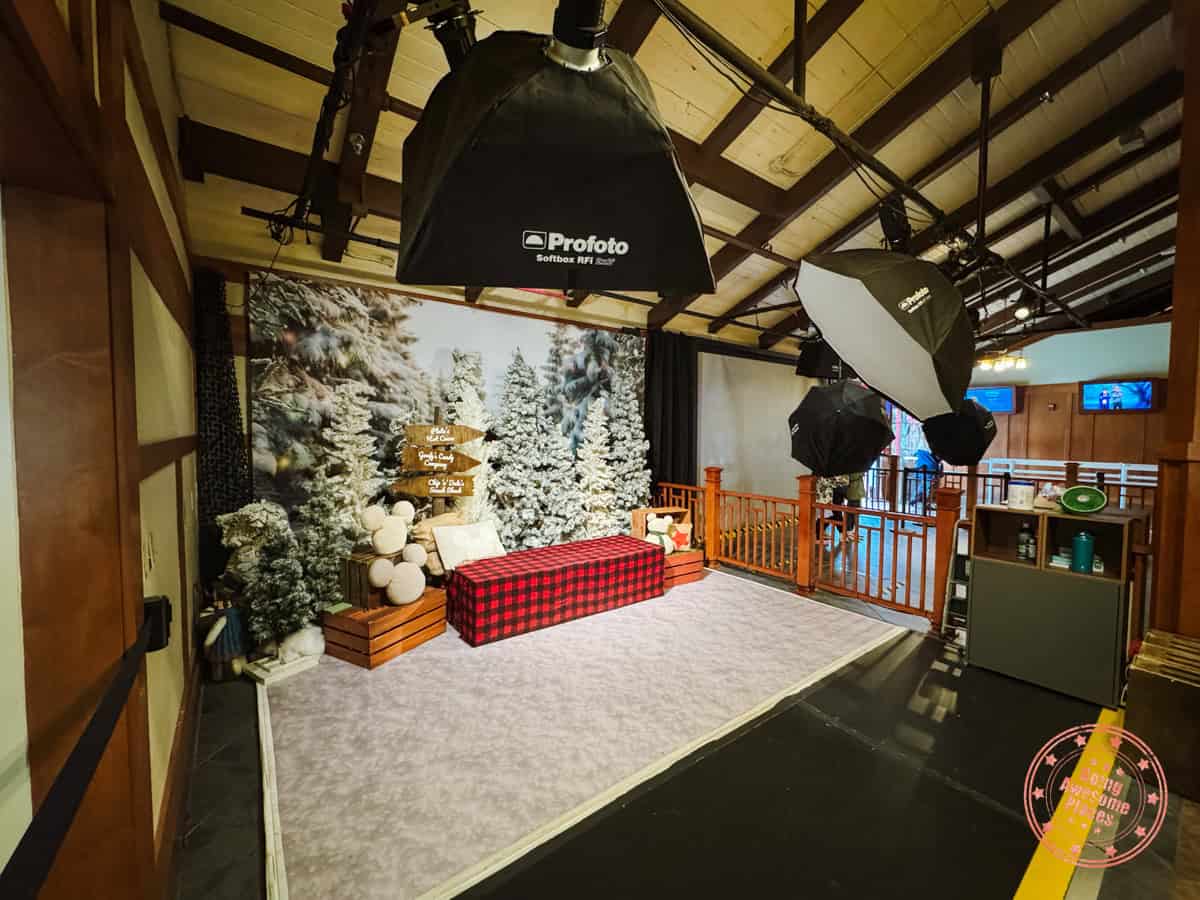
PRO TIP: There’s a professional photo studio in Disney Springs called Disney PhotoPass Studio. This is in a photo studio with backdrops and “green screen”. There’s no additional cost to this.
We’re normally the type of people that would look at ride photos (maybe sneak a photo in), have a chuckle, and walk away. That’s why we were so skeptical about Memory Maker.
Having gone all out with PhotoPass photographers this time around, I don’t know if we could live without Memory Maker moving forward. We feel that it’s a core part of the experience and the photos you get out of them are so incredible.
Yes, it’s $185 but if you’re going to be at the park for 3 days or more, it’s 100% worth it. And if you’re only going one day, I’d say the Memory Maker One Day at $75 is still worth the buy.
Tip #9 – The Disney Guest Wifi Is Terrible
The biggest disappointment in Disney World is the Disney Guest wifi. This opinion never waved throughout all 4 parks. They are all just plain inconsistent.
This was a big surprise to us because Disneyland’s wifi was so much better.
How Was Wifi Bad?
We had the unique circumstance of coming from Canada and wanting to test to see if we could survive in Disney World without buying an eSIM from Airalo. The experiment failed and we towards the end we caved and had to purchase an eSIM.
When you’re connected to Disney Guest, things are actually pretty good and we had nothing to complain about the speed.
The problem was that I remember being constantly frustrated that the wifi signal was dropping out constantly when popping back into the My Disney Experience app to check the map for wait times, trying to modify Lightning Lane Multi Pass, or just checking my own e-mails.
We started to pay attention when this was happening and in the end we realized that it was almost random.
There were of course obvious places where wifi dropped out such as on the Kilimanjaro Safari and in the depths of some of the tunnels of Standby lines but you could be walking outside on a main street and it would suddenly disappear.
That’s why, for any international guest, we highly recommend just biting the bullet and paying for an eSIM.
Here’s who we recommend:
- Airalo: Use referral code WILLIA9500 to get $3 USD credit on your first purchase.
- KnowRoaming: Use code GAP10 to save 10% (repeatable).
- AloSIM: Use code GOINGAWESOMEPLACES to save 15% (repeatable).
- Ubigi: AWESOME10 to save 10% on your first order.
Tip #10 – Single Rider Line
This isn’t advertised clearly on any official channels but there are a few rides that have official and unofficial single rider lines.
Why Are Single Rider Lines So Good?
I know this doesn’t work that well for families but if your kids are older, or if in our case, as adults, don’t mind splitting up, the Single Rider Line can be almost as good as Lightning Lane.
The Single Rider Line is its own lane but what they do is basically squeeze you into rides where there’s an extra space. This can go incredibly fast.
If you’re willing to do it, you could in theory forego Lightning Lane Multi Pass in favor of Single Rider.
Which Rides Have Single Rider Line?
Here are the official rides that consistently offer Single Rider Line:
- Hollywood Studios – Millennium Falcon: Smuggler’s Run (keep in mind that you’ll most likely be assigned the Engineer role)
- Hollywood Studios – Rock ‘n’ Roller Coaster
- Animal Kingdom – Expedition Everest – Legend of the Forbidden Mountain
- EPCOT – Test Track (closed until late Summer 2025)
- EPCOT – Remy’s Ratatouille Adventure
Unofficially, there are many rides that are semi-consistent in calling out for single riders. You have to queue normally but that may give you a chance to jump up.
- Magic Kingdom – Space Mountain
- Animal Kingdom – Avatar Flight of Passage
- EPCOT – Soarin’ Around the World
- As you can imagine, these don’t provide huge time savings.
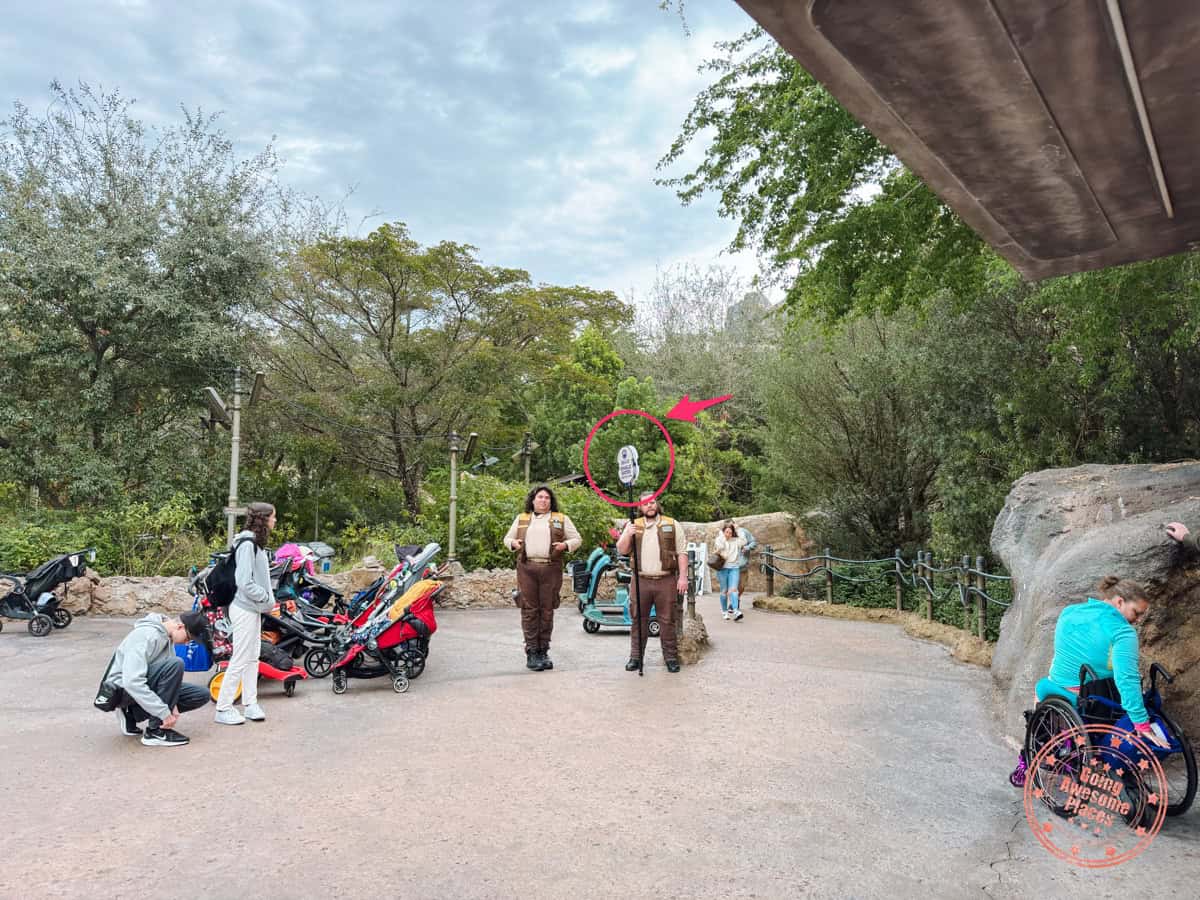
Lastly, there’s currently one ride that they’re experimenting with setting up Single Rider lines. What they do is actually have cast members hold up tall signs that say “Single Rider End Of Line”.
- Hollywood Studios – Rise of the Resistance
We saw this in action on our latest visit to Hollywood Studios. It’s a sweet option because the Rise of the Resistance standby wait time is almost always over 60 minutes.
The only issue is that it’s not consistent and even when it is up, you can never be sure of the hours. On the day that we were there, they closed the Single Rider Line at 8PM despite the park closing at 9PM. We asked when they usually close and they say “it depends”. On busier high-season days, they will sometimes keep it open until 9PM.
I didn’t ask when they usually start the line however, so this is a YMMV (your mile may vary) type of thing.
Tip #11 – Park Hopper’s Secret Exposed
We didn’t get to do this but if you watch the many Disney YouTubers out there, the one super hack when it comes to combining Lightning Lane Multi Pass with Park Hopper pass is this.
Lightning Lane Multi Pass is different for each park and the cheapest is Animal Kingdom. The secret is that if you have Park Hopper, is that after you redeem your first Lightning Lane Multi Pass reservation, you are then able to make reservations at any other theme park.
This means that you can pay the cheapest price for Lightning Lane Multi Pass by starting at Animal Kingdom.
Is it worth doing this? This only makes sense if you know you’re park hopping already. In this case, it makes sense to start your day at Animal Kingdom then jumping to the others. We wouldn’t recommend doing this for the sake of saving money on Lightning Lane Multi Pass because the Park Hopper ticket is more expensive.
Tip #12 – Merchandise Package Delivery
You probably already know this but we’re going to tell you upfront that you’re going to be tempted to buy so many things at Disney World. Many of the things you might want to buy are bulky, heavy, and cumbersome to be carrying around in a shopping bag during your day in the park(s).
To give you some background, Disney World used to have a service called Souvenir Pick-Up and Resort-Hotel Delivery. However since the pandemic, this has not returned.
This service has returned at Disneyland and we describe this at length in our Disneyland Park Hopper Itinerary For Adults
Essentially, you used to be able to make a purchase at any shop in the park and get them to forward it to another shop at no cost. If you were staying at a Disney Resorts Collection Hotel, you could also have them forward it there.
While it’s not up and running right now, we’re pretty sure it’ll come back at some point to Disney World. When it does, it’s a nifty little feature to shuttle your purchases back up to the merchandise location that’s closest to the entrance/exit.
Tip #13 – Shipping Merchandise Home
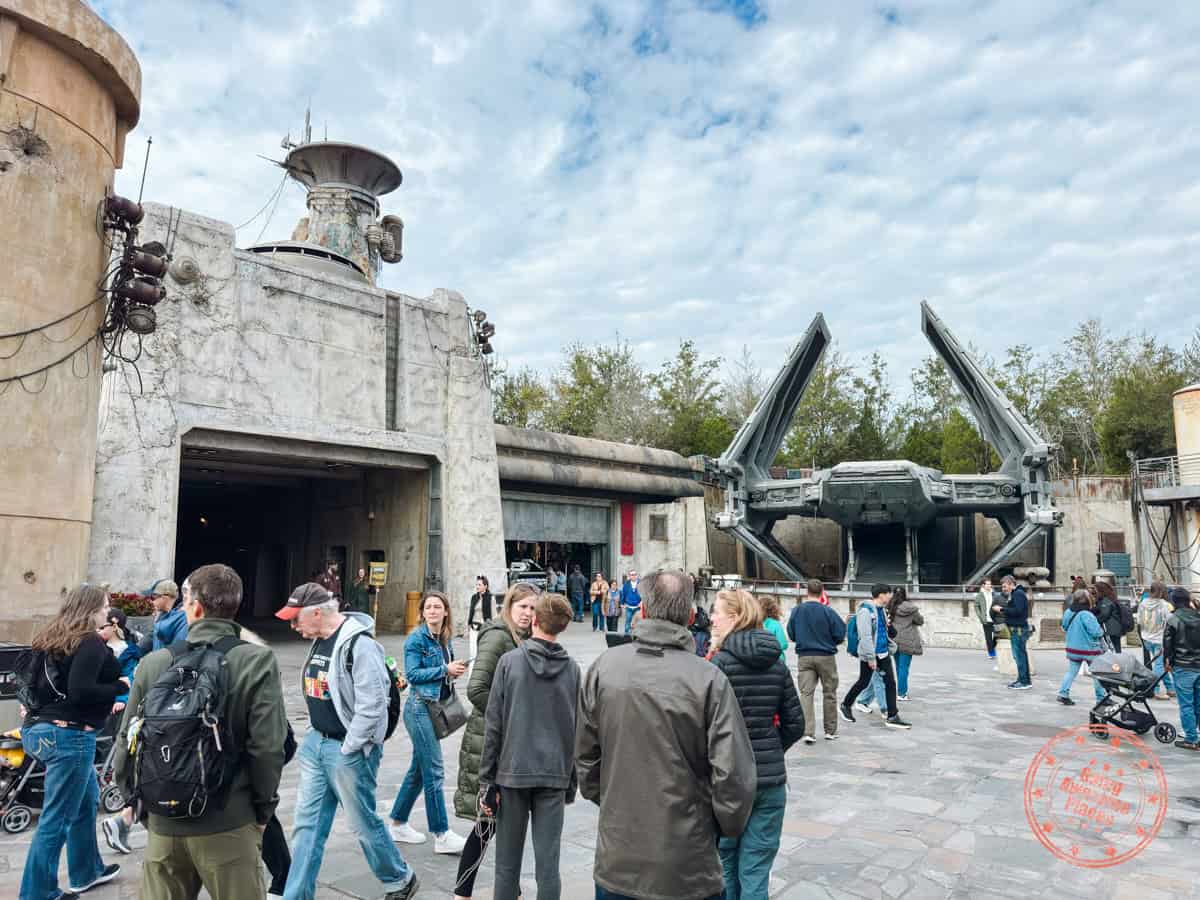
If you end up buying a lot of things and you’re worried that they’re too large to fit into your suitcase, shipping is actually very much a viable option, especially if you live in the US. The beauty of shipping is that it allow you to buy much more (maybe that’s a bad thing) and it minimizes how much you have to carry around with you.
We first discovered this option when we did Savi’s Workshop to build our own lightsaber in Disneyland and contemplated if we needed to ship this back home. We asked Cast Members at First Order Cargo to learn more.
Each major merchandise location in all the parks have the ability to ship your items. The key is to make sure you keep all of your receipts.
The beauty of shipping is that they calculate the prices based on the value of your purchase and not on the weight and size. The shipping costs are also capped in price. So if you’ve bought over a certain amount, the shipping cost remains the same.
The frustrating part about shipping is that there’s no official page that describes this process nor do they publish the rates. I imagine this is because shipping rates change frequently. On our recent trip, we asked the staff for more information. Unlike Disneyland where we were able to snap a photo of the rates, this is what we could get out of cast members at Disney World.
- Canada – Rates start at $80 with $150 which is capped once the value of items shipped is $600.
- USA – Rates start at $18 upwards to $40 which is capped once the value of items shipped is $600.
PRO TIP: If you’re buying goodies across multiple days and parks and want to ship everything at the end, you can also ship from the Disney store at Disney Springs (Go to Marketplace Co-Op) or your Disney Resort Hotel.
Tip #14 – Order Food On The App To Save Time
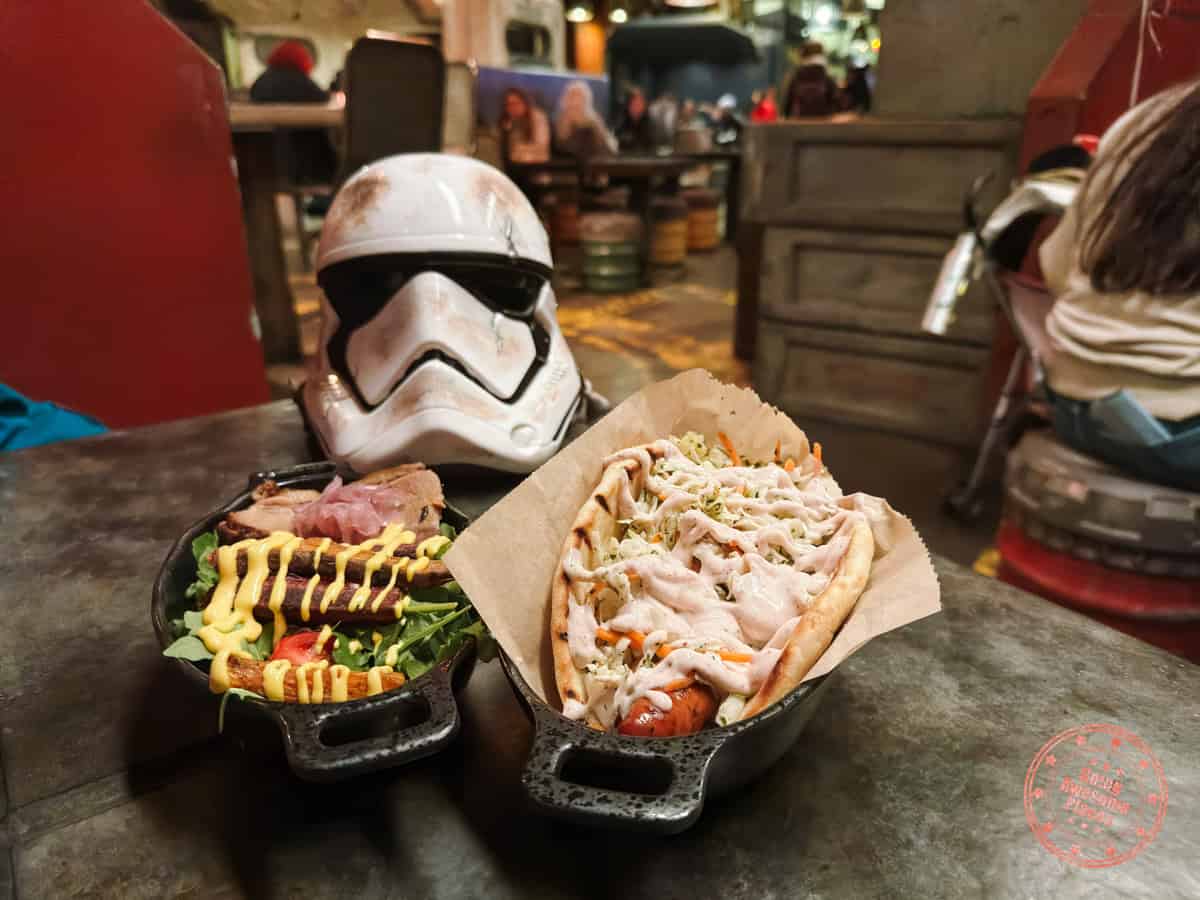
If you’ve learned anything from this guide, it’s that time is of the essence when you’re at Disney.
There were two clear instances on our trip where we were able to bypass a ridiculously long line for food by ordering it directly through the My Disney Experience app.
The first was at Sleepy Hollow for their delicious chicken & waffles. The queue for the cashier was long and so I put the order in through the app and easily bypassed 10 people.
We did the same at Docking Bay 7 where they only had one cashier line open. We were already in line for 15 minutes when I remembered that I could order through the app. It was funny because we ended up picking up our food significantly faster than the people that were originally in front of us in line.
The thing you have to know though is that online ordering isn’t available at all food vendors. You can tell which ones these are when you filter for Dining on the app. The ones with the Mobile Order icon are the ones you want to look for.
Tip #15 – Get Free Pins
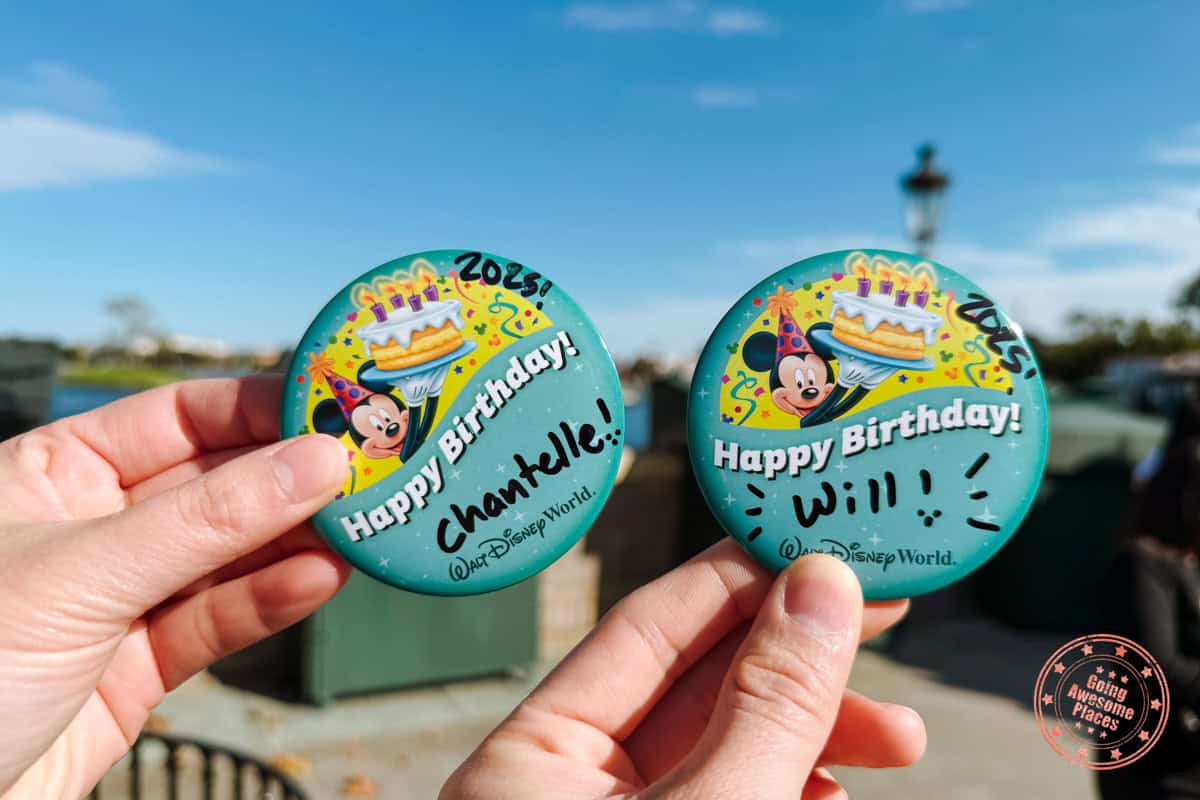
On our first day at Animal Kingdom, we noticed that everyone seemed to be rocking these special buttons/pins. We asked one of the various customer service booths scattered throughout the park to ask about them and we found out that the celebration buttons are free.
These are special buttons to help commemorate special occasions. All you have to do is ask someone at one of the customer service booths and they’ll be happy to provide you with one. They don’t ask you for “proof” so you can request anything you want.
These are the celebration buttons they have available:
- Happy Birthday
- I’m Celebrating
- Happy Ever After
- 1st Visit
Don’t be shy! It wasn’t our birthday when we went, but in a way, we were there to celebrate both of our 40th.
PRO TIP: They most likely have Sharpies as well but if you don’t want to take the chance, make sure to bring your own.
So Many Disney World Hacks
These aren’t ALL the Disney World secrets but after spending a whirlwind 4 days of parks, we felt that these tips were the most crucial ones that allowed us to maximize our time there.
We’re sure we’re missing a bunch so if you feel like we should add something to the list, just leave a comment below.
You so totally rock – DUDE!
Travel Resources For Your Next Trip
If you’re in the process of planning your trip and putting together your itinerary, these are genuinely the best resources that the Going Awesome Places team stands by 100%.
Credit cards: Don’t get burned by hidden fees on top of terrible exchange rates. When we travel now, we use the Wise Card. Simply load it with the currency you need before you go and use it as a regular VISA or their digital wallet card. Use their free app to track how much you have and top up when you need to.
Flights: Of all the booking search engines, Skyscanner is the most helpful and easy to use thanks to their Everywhere feature. Kayak is also another that’s we will often check as well.
Car Rental: If you’re looking to save money, these car rental coupon codes will be a true game-changer. Otherwise, DiscoverCars and RentalCars are great places to start.
Rideshare: For new Lyft users, use code WILLIAM4825 to get 50% off your first 2 rides (max $10 USD per ride). Offer valid for 14 days after you take your first ride. For new Uber users, use code psuqbjg4d7rn for the same offer except it’s valid for 30 days.
Airport Parking: You’ll need a spot to leave your car at the airport so why not book a spot at a discount. Use code AWESOME7 to get at least $5 off at Airport Parking Reservations or Park Sleep Fly packages.
Wifi Hotspot: We’ve been a huge fan of wifi hotspot devices such as PokeFi (use code GAP24300) because their rates are are hard to beat and it works globally. Solis is another that we recommend. Pros are that you can share the wifi with your whole group but cons are that you have to invest in a device and you have to charge it every night.
eSIM: Lately, we’ve really loved using eSIMs. We’ve tested several over the years and we have access to a few special promotions.
- KnowRoaming – Use code GAP10 to save 10%.
- AloSIM – Use code GOINGAWESOMEPLACES to save 15%.
- Airalo – Use referral code WILLIA9500 to get $3 USD credit on your first purchase.
- Ubigi – AWESOME10 to save 10% on your first order.
Hotels: Our go-to is Booking.com because they have the best inventory of properties including hotels and B&Bs plus they have their Genius tier discounts. Expedia is also worth using especially with their One Key rewards program which is basically like cash. The exception is Asia where Agoda always has the best prices. Always do a quick check on TripAdvisor as well.
Vacation Rentals: Your first instinct will be to check Airbnb but we always recommend checking VRBO as well if you’re looking for a vacation rental (now eligible for One Key).
Tours and Activities: When planning our trips, we always check both Viator and GetYourGuide to at least see what’s out there in the destination that we’re going to. They often have different offerings and prices so check both.
Travel Insurance: Learn how to buy the best travel insurance for you. This isn’t something you want to travel without.
- HeyMondo – Popular insurance provider for frequent travelers and comes with great coverage and special perks.
- RATESDOTCA – Search engine Canadians looking for the cheapest insurance including multi-trip annual policies.
- SafetyWing – A perfect fit for long-term nomads.
- Medjet – Global air medical transportation.
- InsureMyTrip – Best for seniors, families, and those with pre-existing conditions.
If you need more help planning your trip, make sure to check out our Travel Toolbox where we highlight all of the gear, resources, and tools we use when traveling.







 English (US) ·