 3 days ago
10
3 days ago
10
Walk along any popular trail, and you’ll likely see two types of hikers: those who glide along rhythmically, using trekking poles with every step, and those who walk free-handed, viewing poles as an unnecessary bit of clutter.
For a beginner, it’s a confusing picture. Are hiking poles an essential piece of performance-enhancing gear, or are they just an extra expense and a faff to carry?
It’s a question I get asked all the time, and the truth is, I was a skeptic myself for years.
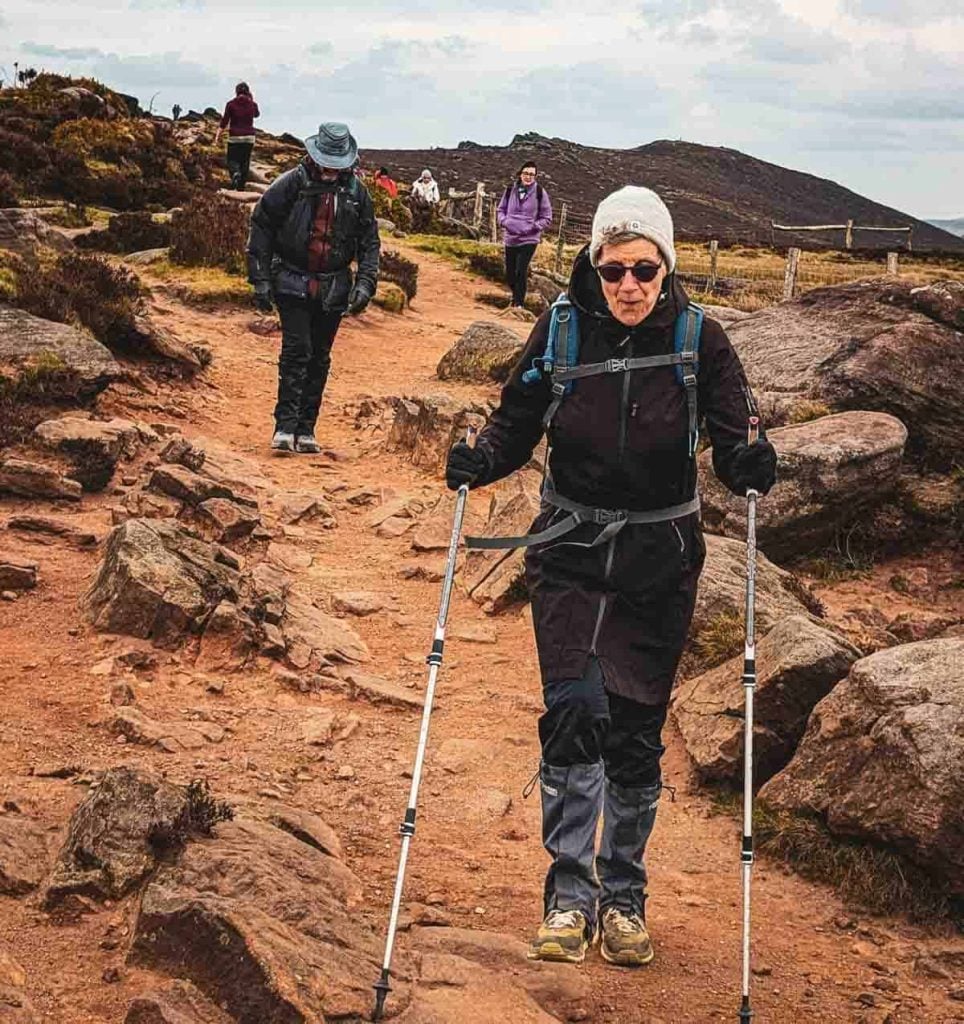
However, after countless miles on the trail, my own knees have thanked me on thousands of steep, slippery descents in places like the Peak District and Snowdonia.
My experience, forged on the often-punishing terrain of the UK, has taught me that for most people, the answer is a resounding “yes.”
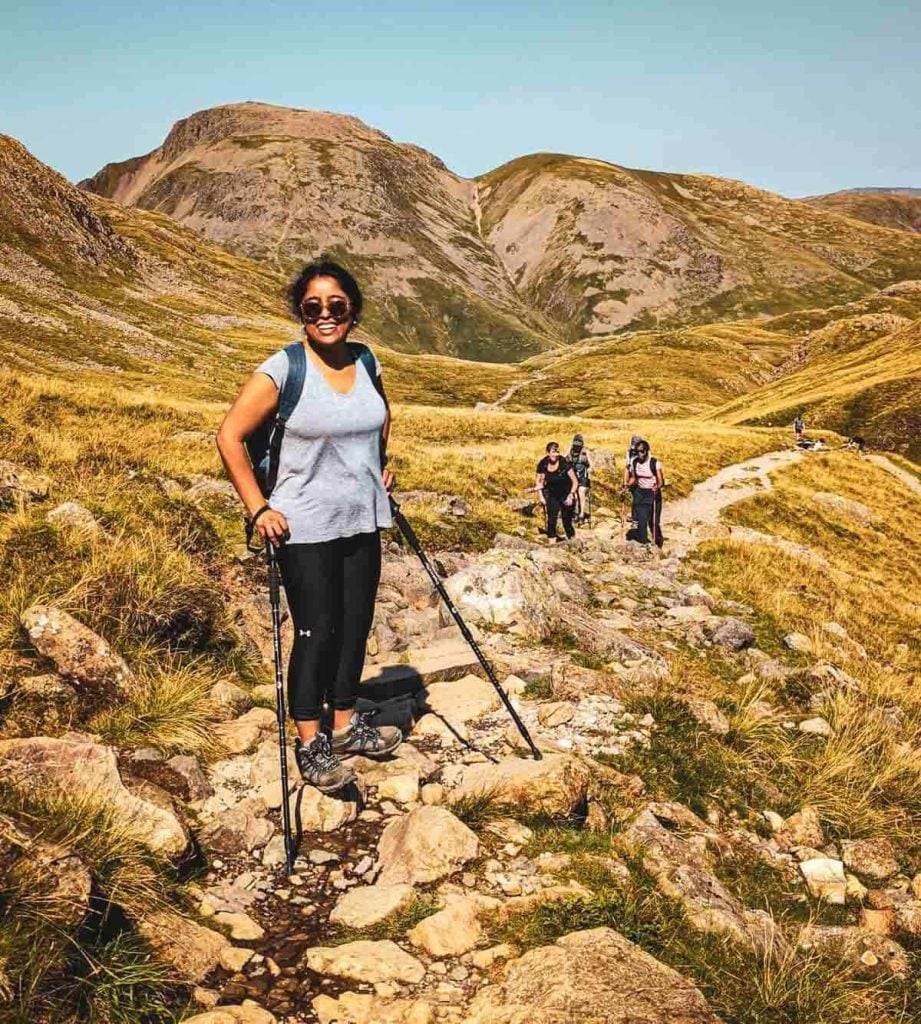
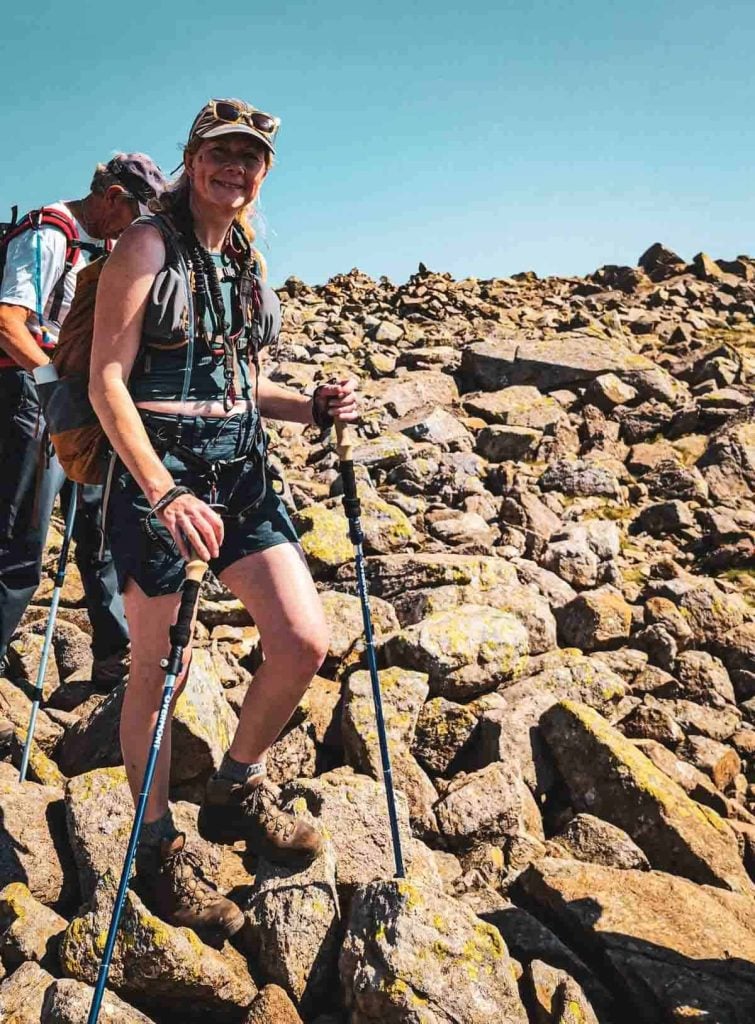
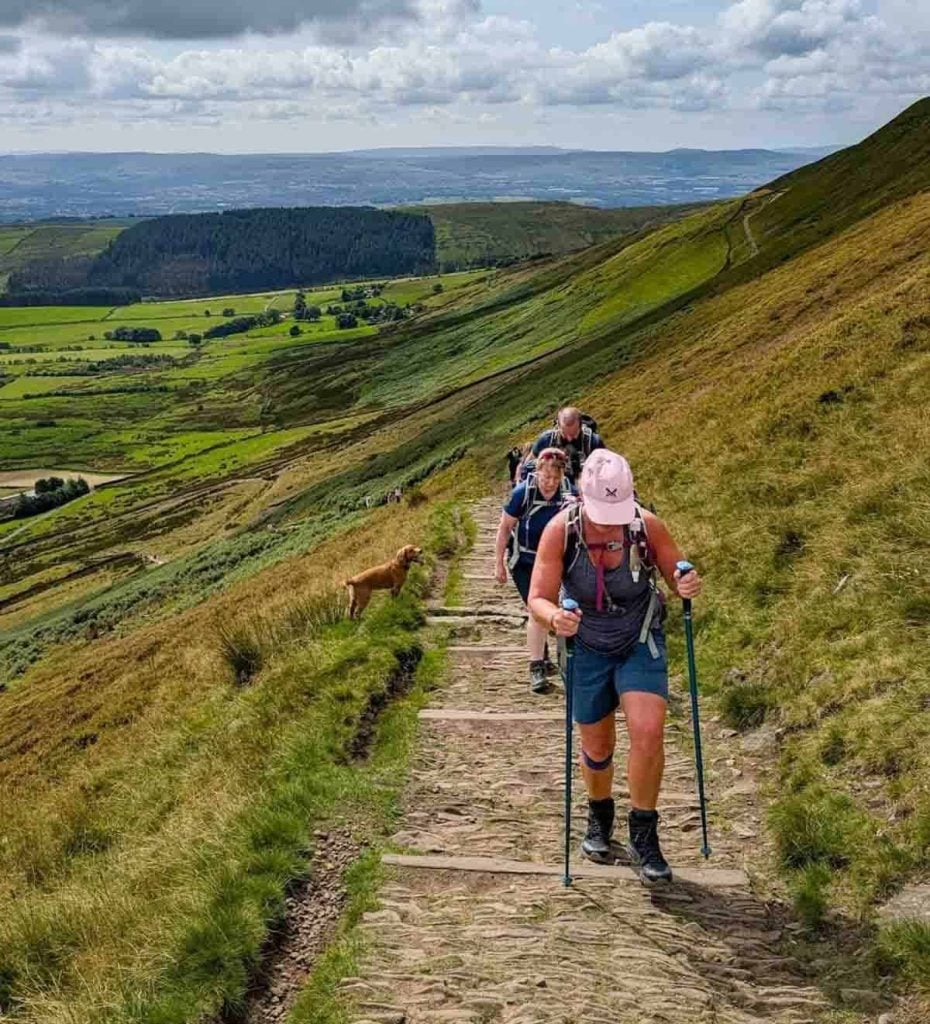
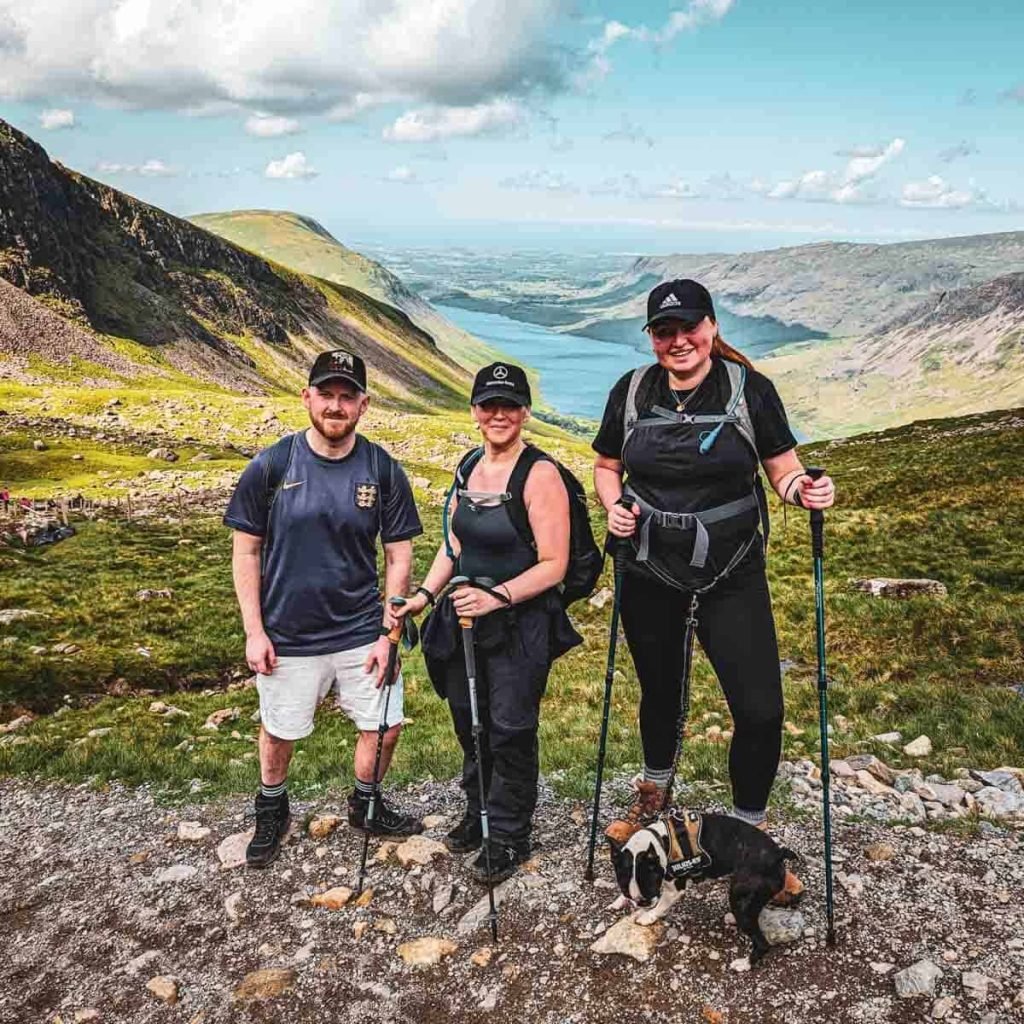
Myself? I use them where needed. Where my body needs them. As you can see in this article, many of those attending the guided walks use them too.
Trekking poles and boots are the two items that have the most impact on a hiker’s joints and comfort.
Alongside a good pair of hiking boots, choosing the right trekking poles is one of the most important gear decisions you can make for comfort and stability on the trail.
This guide won’t just give you my opinion; it will break down the real-world benefits and drawbacks to help you decide for yourself.
Part 1: The Case FOR Trekking Poles – The Main Benefits
Why do so many experienced hikers swear by them? The advantages go far beyond just having something to lean on.
1. They Save Your Knees (and Other Joints)
This is the number one reason. When you walk, especially downhill, your knees, hips, and ankles absorb a huge amount of impact.
Trekking poles act as shock absorbers, transferring a significant portion of that load to your arms and shoulders.
Studies have shown they can reduce the compressive force on the knees by up to 25% with every step. Over a long day, that is a massive saving that reduces post-hike soreness and long-term joint strain.
Over a long day, that is a massive saving that reduces post-hike soreness and long-term joint strain.
This becomes absolutely crucial on a multi-day trek, where the cumulative impact on your joints can be the difference between finishing strong and not finishing at all
2. They Improve Your Stability and Balance
Four points of contact with the ground are always better than two. This is especially true on tricky terrain.
Also especially useful when you’re carrying a pack with all your essentials, including a reliable hiking layering system to cope with changing weather.
Uneven Ground: They help you navigate rocky paths or root-filled forest floors with greater confidence.
River Crossings: Probing the depth and using poles for stability can be the difference between a simple crossing and an icy plunge.
Slippery Surfaces: I can’t count the number of times they’ve saved me from a slip on a muddy, grassy descent in the Yorkshire Dales, which is a common scenario for hikers worldwide.

Using poles helps you maintain a steady rhythm, making it easier to cover ground and remember to take regular sips from your hydration pack.
3. They Power You Uphill
Hiking isn’t just a leg workout. By planting your poles and pushing off with your arms, you engage your entire upper body.
This distributes the effort, reduces fatigue in your legs, and helps you maintain a more powerful and efficient rhythm on long ascents.
4. They Have Other Handy Uses
Poles are a multi-tool on the trail. You can use them to:
- Test the depth of mud or a puddle before you commit your boot.
- Push away thorny brambles or stinging nettles.
- Act as a pole for an ultralight, minimalist tent or tarp.
- Provide support when you stop for a rest.
Part 2: The Case AGAINST Trekking Poles – The Downsides
To give you a fair picture, it’s important to acknowledge the drawbacks.
Cost: A ‘good’ pair of poles is an extra expense, though quality budget options are available.
The “Faff Factor”: Your hands are occupied, making it trickier to quickly grab your map, phone for a photo, or a snack. They can also get tangled in undergrowth and need to be stowed away for any sections of scrambling that require your hands.
Weight & Bulk: While modern poles are incredibly light, they are still one more thing to carry in or on your pack.
Part 3: A Quick Guide to Choosing Your First Pair
If you decide to give them a try, here’s what to look for as a beginner.
Material:
- Aluminium: Slightly heavier but more durable and less expensive. A great choice for a first pair.
- Carbon Fibre: Much lighter and excellent at dampening vibrations, but more brittle and more expensive. Ideal for long-distance hikers or multi-day treks where every gram in your pack counts.
Locking Mechanism:
- Flick-Lock (Lever-Lock): An external lever that clamps down. This is the most reliable and easiest to use, especially with cold hands or gloves—a huge advantage I’ve appreciated on many windy summits.
- Twist-Lock: An internal mechanism that tightens as you twist the pole sections. This is an older system that can be less reliable and prone to slipping over time.
Grips:
- Cork: Resists moisture and moulds to your hand over time. Great for hot weather.
- Foam: Soft and absorbs sweat well.
- Rubber: Insulates from the cold but can get slippery when your hands sweat.
Baskets:
The small, circular plastic discs near the tips of your poles are called baskets. Their job is to stop the pole from sinking too deeply into soft ground. Most poles come with interchangeable types:
- Trekking Baskets (Small): These are smaller and designed for general three-season hiking. They are perfect for muddy trails and also help prevent the pole from getting wedged between rocks.
- Snow Baskets (Large): These are much wider and are essential for winter walking. They provide flotation and stop your poles from disappearing into deep snow.
Folding vs. Telescopic:
- Telescopic poles (two or three sections slide into each other) are the most common and durable for general hiking.
- Folding poles (like tent poles) pack down smaller and are popular with trail runners and ultralight hikers.
Part 4: How to Use Them Correctly (The Secret No One Tells You)
Using poles correctly makes a world of difference.
Setting the Right Height
On flat ground, your elbow should be at a comfortable 90-degree angle when holding the pole with the tip on the ground.
Adjusting for Terrain
- Going Uphill: Shorten your poles by 5-10cm. This provides better leverage for pushing yourself up.
- Going Downhill: Lengthen your poles by 5-10cm. This allows you to reach further down the slope for better balance and support.
Using the Straps Correctly
This is the most common mistake. Do not just grip the handle. Your wrist should take the load, not your hand.
- Bring your hand up through the bottom of the strap loop.
- Pull down and grip the handle. The strap should be snug around your wrist. This allows you to push down on the strap and relax your grip, saving a huge amount of energy.
Conclusion: So, Are They Worth It?
For the vast majority of hikers, yes, trekking poles are absolutely worth it.
While they have minor downsides, the benefits in terms of reduced joint impact, increased stability, and improved endurance are immense.
Think of them not as a crutch for the infirm, but as a smart, technical piece of gear that helps you hike more efficiently, more safely, and for longer.
If you’re still unsure, consider buying an inexpensive but reliable aluminium, flick-lock pair to start. After one long, steep descent, your knees will give you the answer.


 English (US) ·